How to Create Raised Wall Art With Joint Compound
A step-by-step DIY tutorial for building a raised, textured accent wall using joint compound, layered paint, and metallic highlights.
Disclosure: This post may contain affiliate links. If you purchase through one of these links, ProjectPerfectDIY may earn a commission at no additional cost to you.
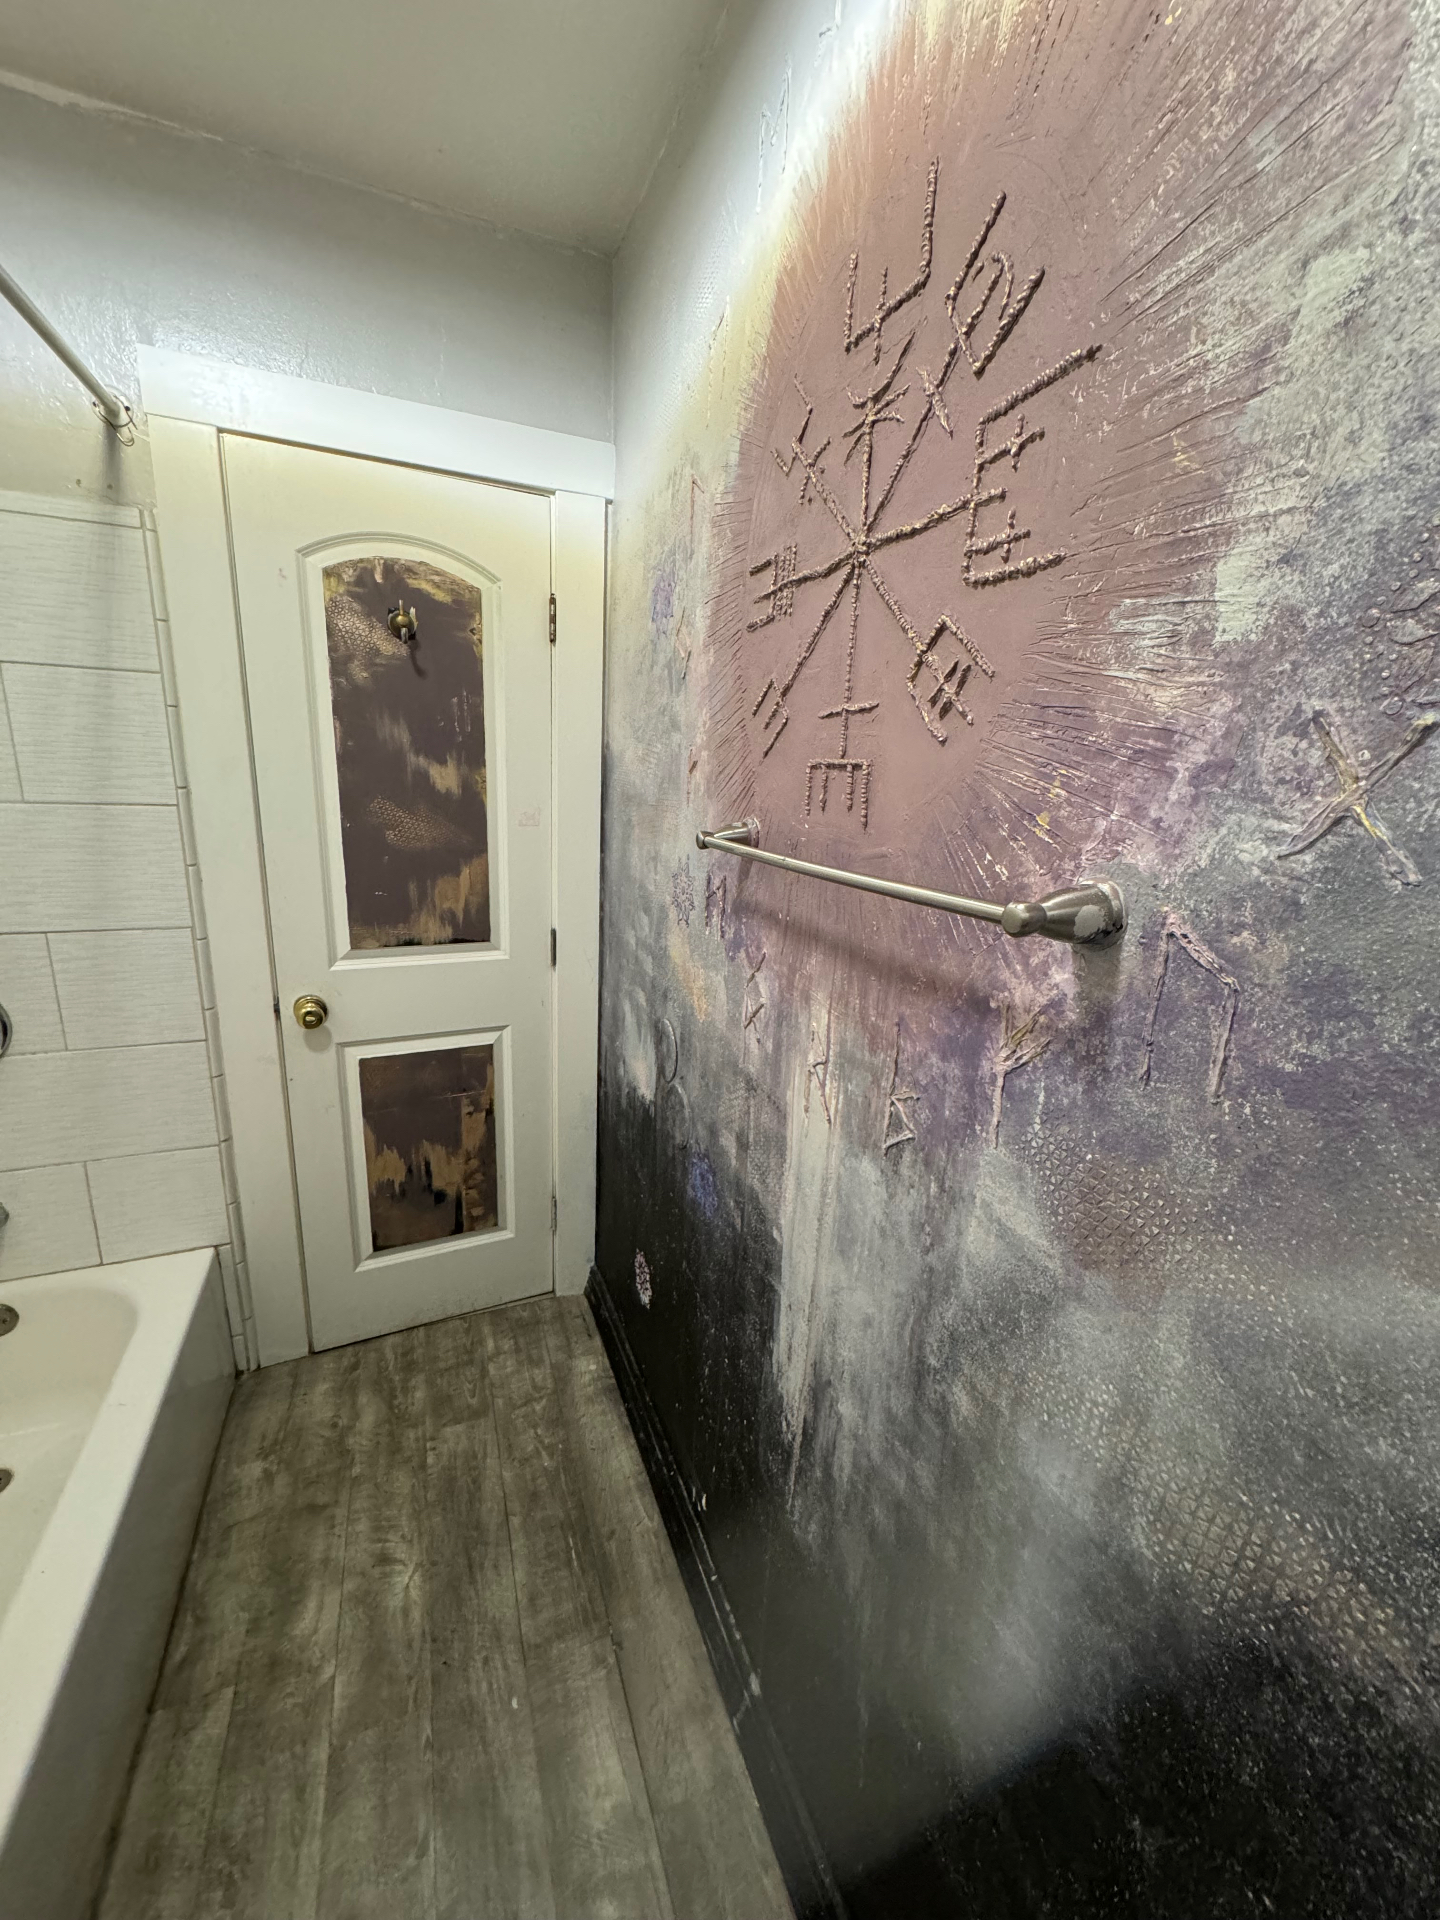
I wanted this bathroom wall to feel like more than a painted accent wall. I wanted it to look layered, aged, imperfect, and almost carved into the surface—without actually cutting into the drywall or installing heavy decorative panels.
The raised symbols are what gave the wall that extra dimension.
Instead of painting the design flat onto the wall, I built the lines up using wall putty, also commonly called joint compound or drywall mud. Once everything dried, I painted over the raised details and highlighted them so they stood out from the textured background.
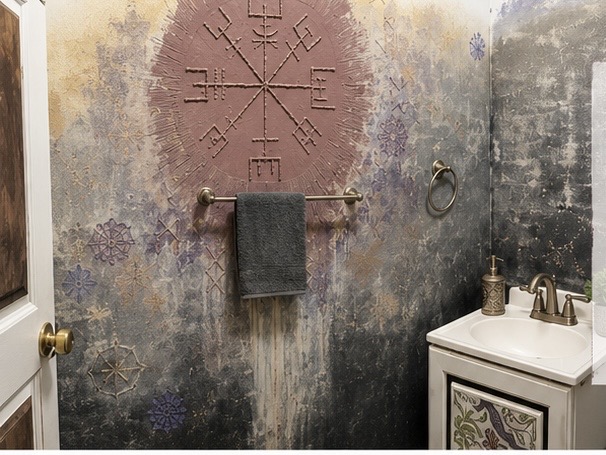
The finished wall has a weathered, almost ancient-plaster appearance, but the basic technique is surprisingly straightforward. You can use it for symbols, botanical line art, geometric designs, lettering, abstract shapes, or nearly any design that can be reduced to clean lines.
This tutorial explains how to recreate the raised effect and how to finish it so it holds up better—especially in a bathroom or other humid room.
What Is the Raised Wall-Putty Technique?
The technique is essentially a form of low-relief wall art.
A low-relief design sits slightly above the background instead of being completely flat or fully sculpted. In this project, the wall putty forms raised lines, while layers of paint, metallic highlights, and background texture make those lines look more dramatic.
The amount of dimension depends on:
- The thickness of the putty
- The size of the opening used to apply it
- How many layers you build
- How much you sand after it dries
- The way you highlight the finished design
You do not need the raised lines to be extremely thick. Even a narrow ridge catches light differently than the wall behind it, which is what creates the carved or embossed appearance.
Supplies You Will Need
For a project like this, gather:
- Ready-mixed joint compound or wall putty
- A small putty knife or flexible palette knife
- Disposable piping bags or a heavy zip-top bag
- Pencil, chalk, or water-soluble marking pencil
- Painter's tape
- Sanding sponge or fine-grit sandpaper
- Drop cloth
- Clean rags
- Wall primer
- Interior wall paint
- Small artist brushes
- Metallic craft paint or metallic wall paint
- Sea sponge, stencil brush, or textured roller
- Clear protective topcoat suitable for painted walls, when needed
- Dust mask or respirator for sanding
- Gloves
Choosing the Right Wall Putty
In the United States, the easiest product to use for this technique is usually ready-mixed joint compound.
It spreads smoothly, stays workable long enough to shape, and sands more easily than many fast-setting repair compounds.
Lightweight spackle can work for small accents, but it is not always the best option for a larger design because thick sections can shrink or crack. Fast-setting drywall compound is stronger, but it hardens quickly and gives beginners less time to correct lines.
For a first project, ready-mixed lightweight or all-purpose joint compound is the most forgiving choice.
Before You Begin
The wall needs to be dry, structurally sound, free of loose paint, free of dust, grease, and soap residue, and properly repaired before decorating.
This technique should not be used to cover active moisture damage, mold, soft drywall, or peeling paint. Decorative putty is not a tiny bucket of denial. Repair the actual wall problem first.
In a bathroom, keep raised joint-compound art outside areas that receive direct, repeated water exposure. It is appropriate for a dry bathroom wall, but not inside a shower enclosure unless you are using an entirely different waterproof system designed for wet areas.
Step 1: Plan the Design
Start by deciding where the raised design will sit and how large it should be.
For this wall, I used one large central compass-style symbol as the focal point, then added smaller marks, floral shapes, and scattered details around it. The large circular background helps anchor the main design so it does not look like it is floating randomly on the wall.
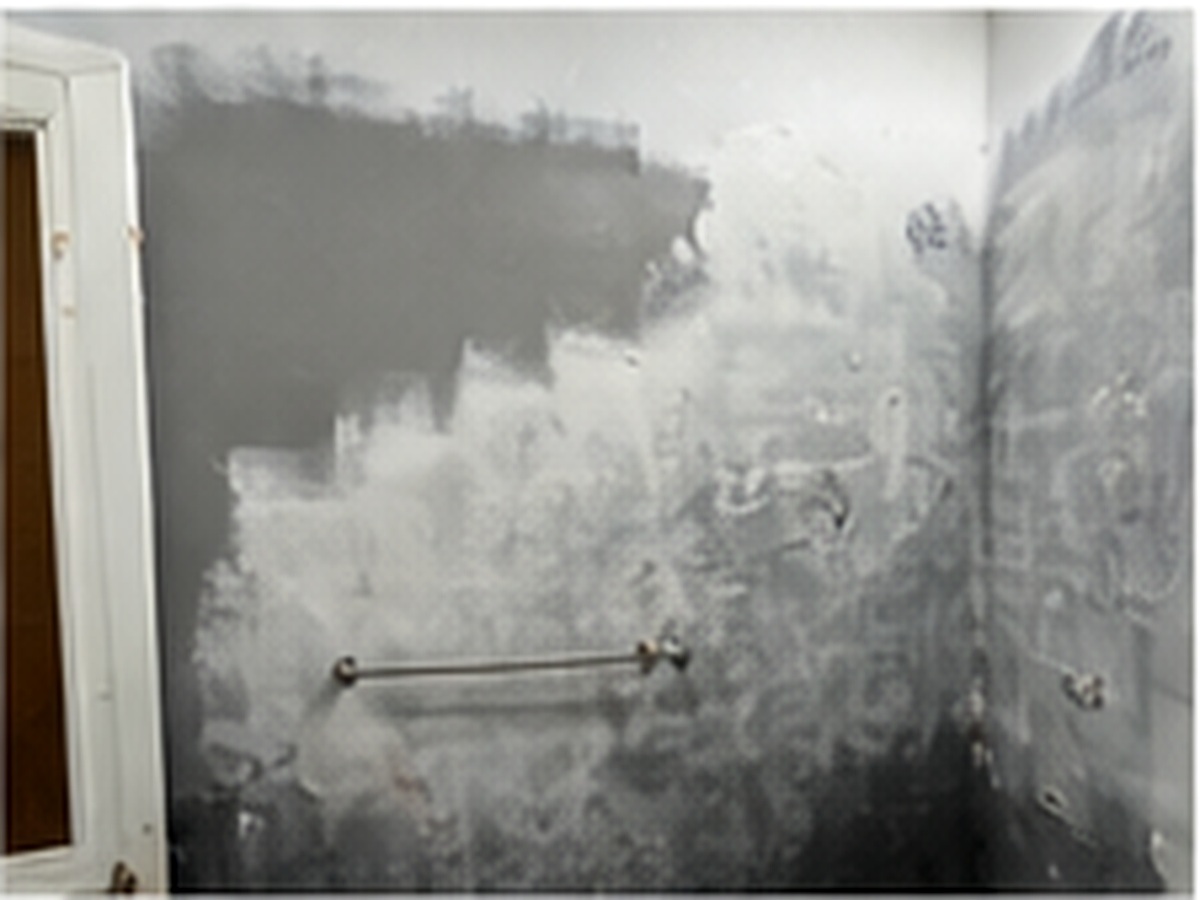 Step 1 reference: the wall prepped and primed before any design goes on it.
Simple shapes work best for a first attempt. Designs with clean lines are easier to pipe, repair, and paint than tiny illustrations with dozens of closely spaced details.
Step 2: Prepare and Base-Coat the Wall
Clean the wall and repair any holes, dents, or peeling areas.
Lightly sand glossy paint if needed, then wipe away the dust. Apply a suitable primer before starting the decorative layers, especially if the wall has patches, stains, or multiple previous paint finishes.
You do not need to complete every background layer first. It is often easier to establish the main color blocks, add the raised design, and then continue layering paint over everything.
Step 3: Transfer the Design to the Wall
Use a pencil, chalk, or erasable marking tool to lightly draw the design onto the wall.
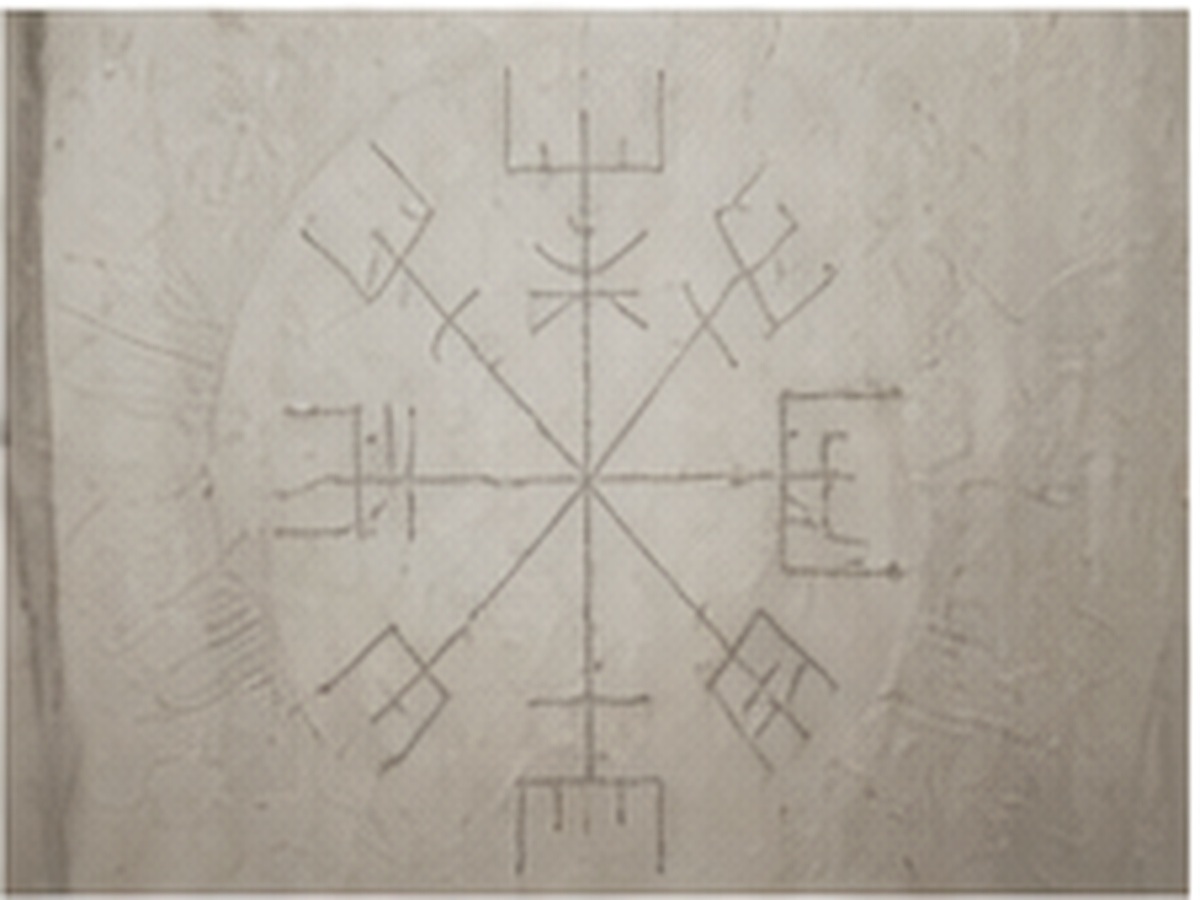 Step 3 reference: the full design lightly sketched on the wall in pencil.
For a circular focal point, trace a large round object, use a string-and-pencil compass, or mark the center and measure outward.
Do not press hard. Heavy graphite lines can show through pale paint. For symmetrical designs, use a ruler, level, measuring tape, painter's tape, a paper template, or a projector.
Step 4: Load the Wall Putty Into a Piping Bag
Spoon a small amount of joint compound into a disposable piping bag.
You can also use a heavy-duty zip-top bag, but a proper piping bag gives you better control and is less likely to split.
Push the compound toward one corner and twist the top of the bag closed. Cut a very small opening at the tip. Start smaller than you think you need — you can enlarge the opening, but you cannot make it smaller again after cutting it.
The joint compound should be smooth enough to squeeze through the opening but thick enough to hold its shape. If it is unusually stiff, mix it thoroughly before loading the bag. Avoid thinning it excessively because watery compound can sag down the wall.
Step 5: Pipe the Raised Lines
Hold the piping bag slightly away from the wall and squeeze with steady pressure. Guide the compound along the sketched line instead of dragging the bag directly against the wall. Keeping the tip slightly lifted allows the putty to form a rounded raised ridge.
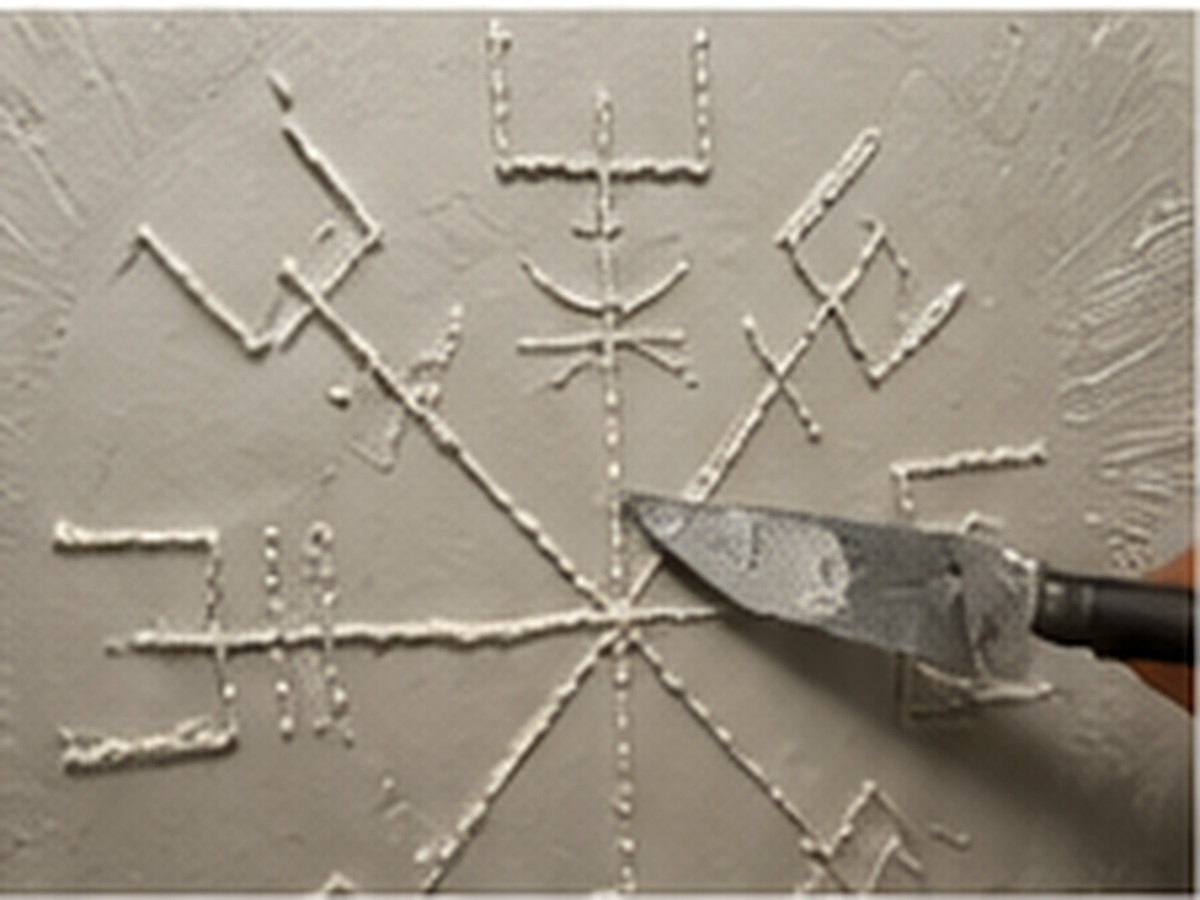 Step 5 reference: building up the raised lines directly over the pencil sketch.
Work slowly in short sections. For straight lines, begin squeezing before moving, pull the line steadily toward you, and stop squeezing before lifting the tip away. For corners and intersections, complete one line, stop, and begin the next separately.
Step 6: Correct the Shape While It Is Wet
Use a damp artist brush, small putty knife, toothpick, or gloved fingertip to clean up the lines. You can flatten sharp peaks, repair gaps, smooth intersections, remove excess compound, sharpen corners, or add texture.
Do not keep working the same section indefinitely. Joint compound becomes less cooperative as it begins to set, and overworking it can pull the line off the wall. If one area goes completely wrong, scrape it away while wet, wipe the surface clean, and try again.
Step 7: Let the Design Dry Completely
Drying time depends on product type, humidity, room temperature, line thickness, and airflow. Raised details take longer to dry than a thin skim coat.
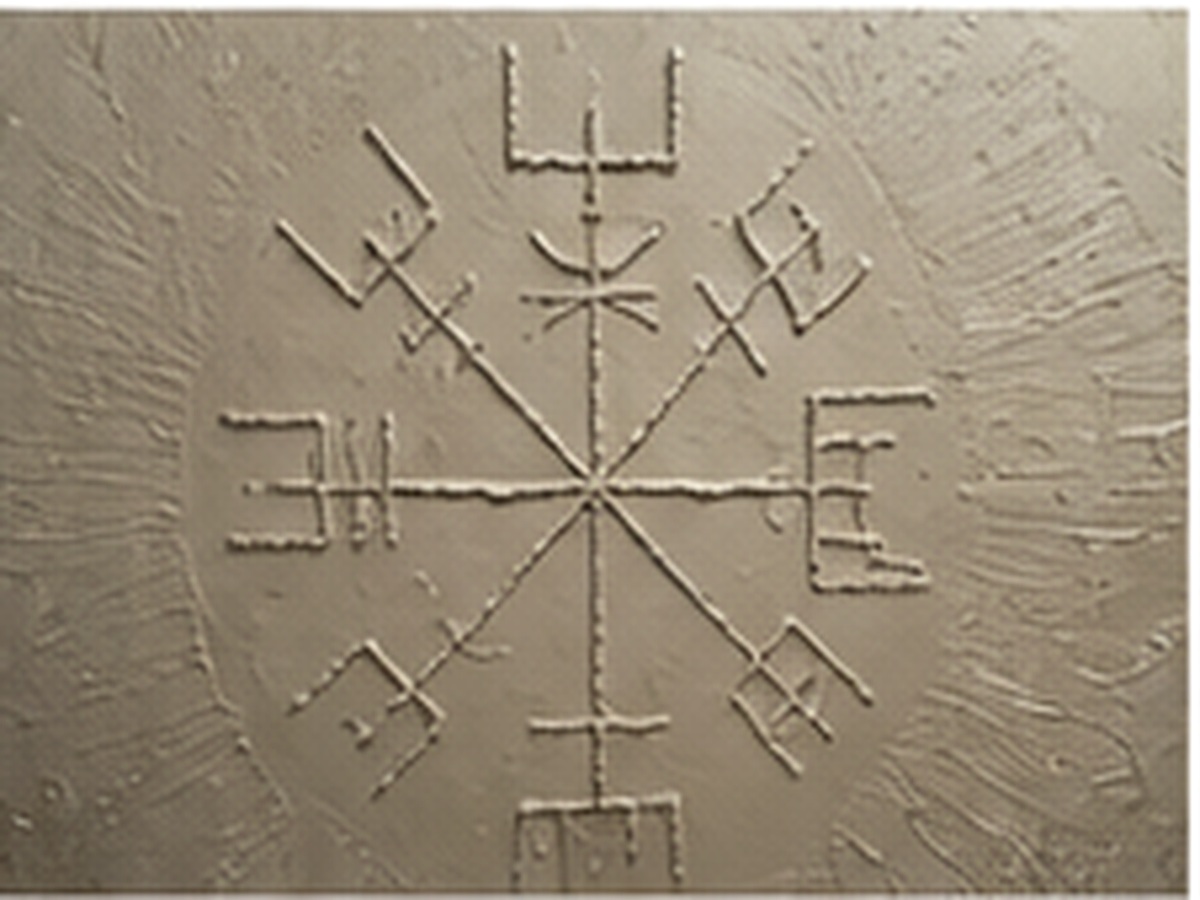 Step 7 reference: the dried raised design before any paint is added.
In a humid bathroom, give the compound more time than the label's minimum estimate. The surface can look dry while the center remains soft. Do not paint until the raised lines are fully hardened.
Step 8: Sand Only Where Needed
Once the putty is completely dry, inspect the design from the side with a light shining across it. Side lighting reveals tall peaks, rough edges, lumps, uneven intersections, and accidental drips.
Use a fine sanding sponge to soften only the areas that need correction. Do not sand the entire design aggressively — the handmade texture is part of the effect.
Step 9: Prime the Raised Design
Joint compound is porous and absorbs paint differently than the surrounding wall. Apply primer over the raised design and any exposed compound before adding the final colors. Use a small brush to work primer around the edges of every line.
Step 10: Paint the Background in Layers
The dramatic finish comes from layering, not one perfectly applied coat.
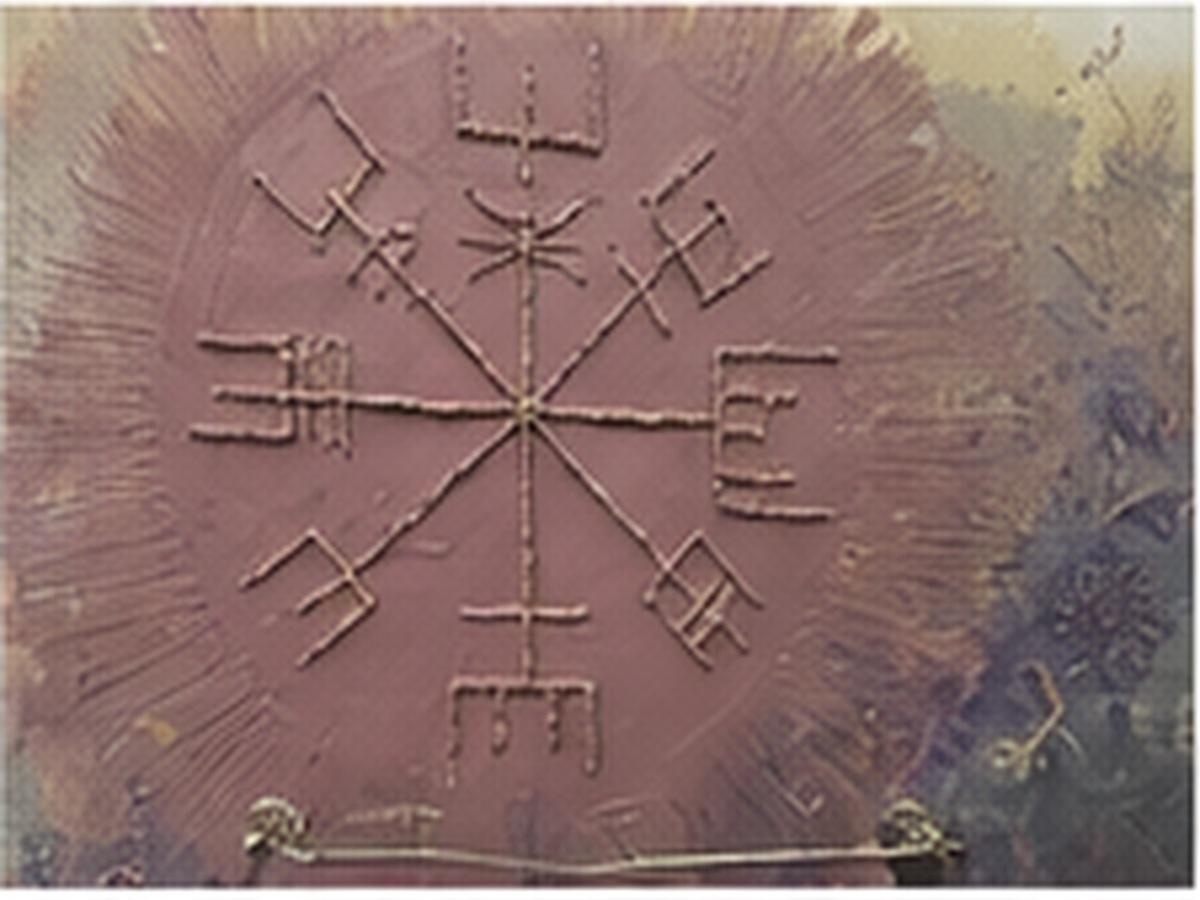 Step 10 reference: the base coat going on around the raised design.
For the wall shown here, the background effect uses sponging, dry brushing, ragging, color washing, and light dragging with a putty knife. A similar palette could include charcoal, black, warm gray, soft white, dusty mauve, muted purple, and aged gold.
Apply darker colors near the lower wall and lighter, hazier layers higher up to create movement and contrast. The wall should look layered, uneven, and intentionally weathered — not smooth.
Step 11: Paint the Raised Details
Paint the raised lines with a small artist brush. You can match the wall color for a subtle embossed look or use a contrasting color to make the design more prominent.
A good sequence:
- Paint the raised design in a dark base color.
- Let it dry.
- Lightly dry-brush metallic paint across the highest points.
- Add a small amount of shadow paint beside selected lines.
- Blend the surrounding wall color around the edges.
Dip only the tips of a dry brush into metallic paint, wipe most of it onto a paper towel, then lightly drag the brush across the raised putty. The paint should catch the high points while leaving the recessed edges darker. This small step creates most of the dimensional effect.
Step 12: Add the Final Aging and Texture
Once the raised design is painted, step back and look at the wall as a whole. Add small amounts of color around the design so it feels connected to the background.
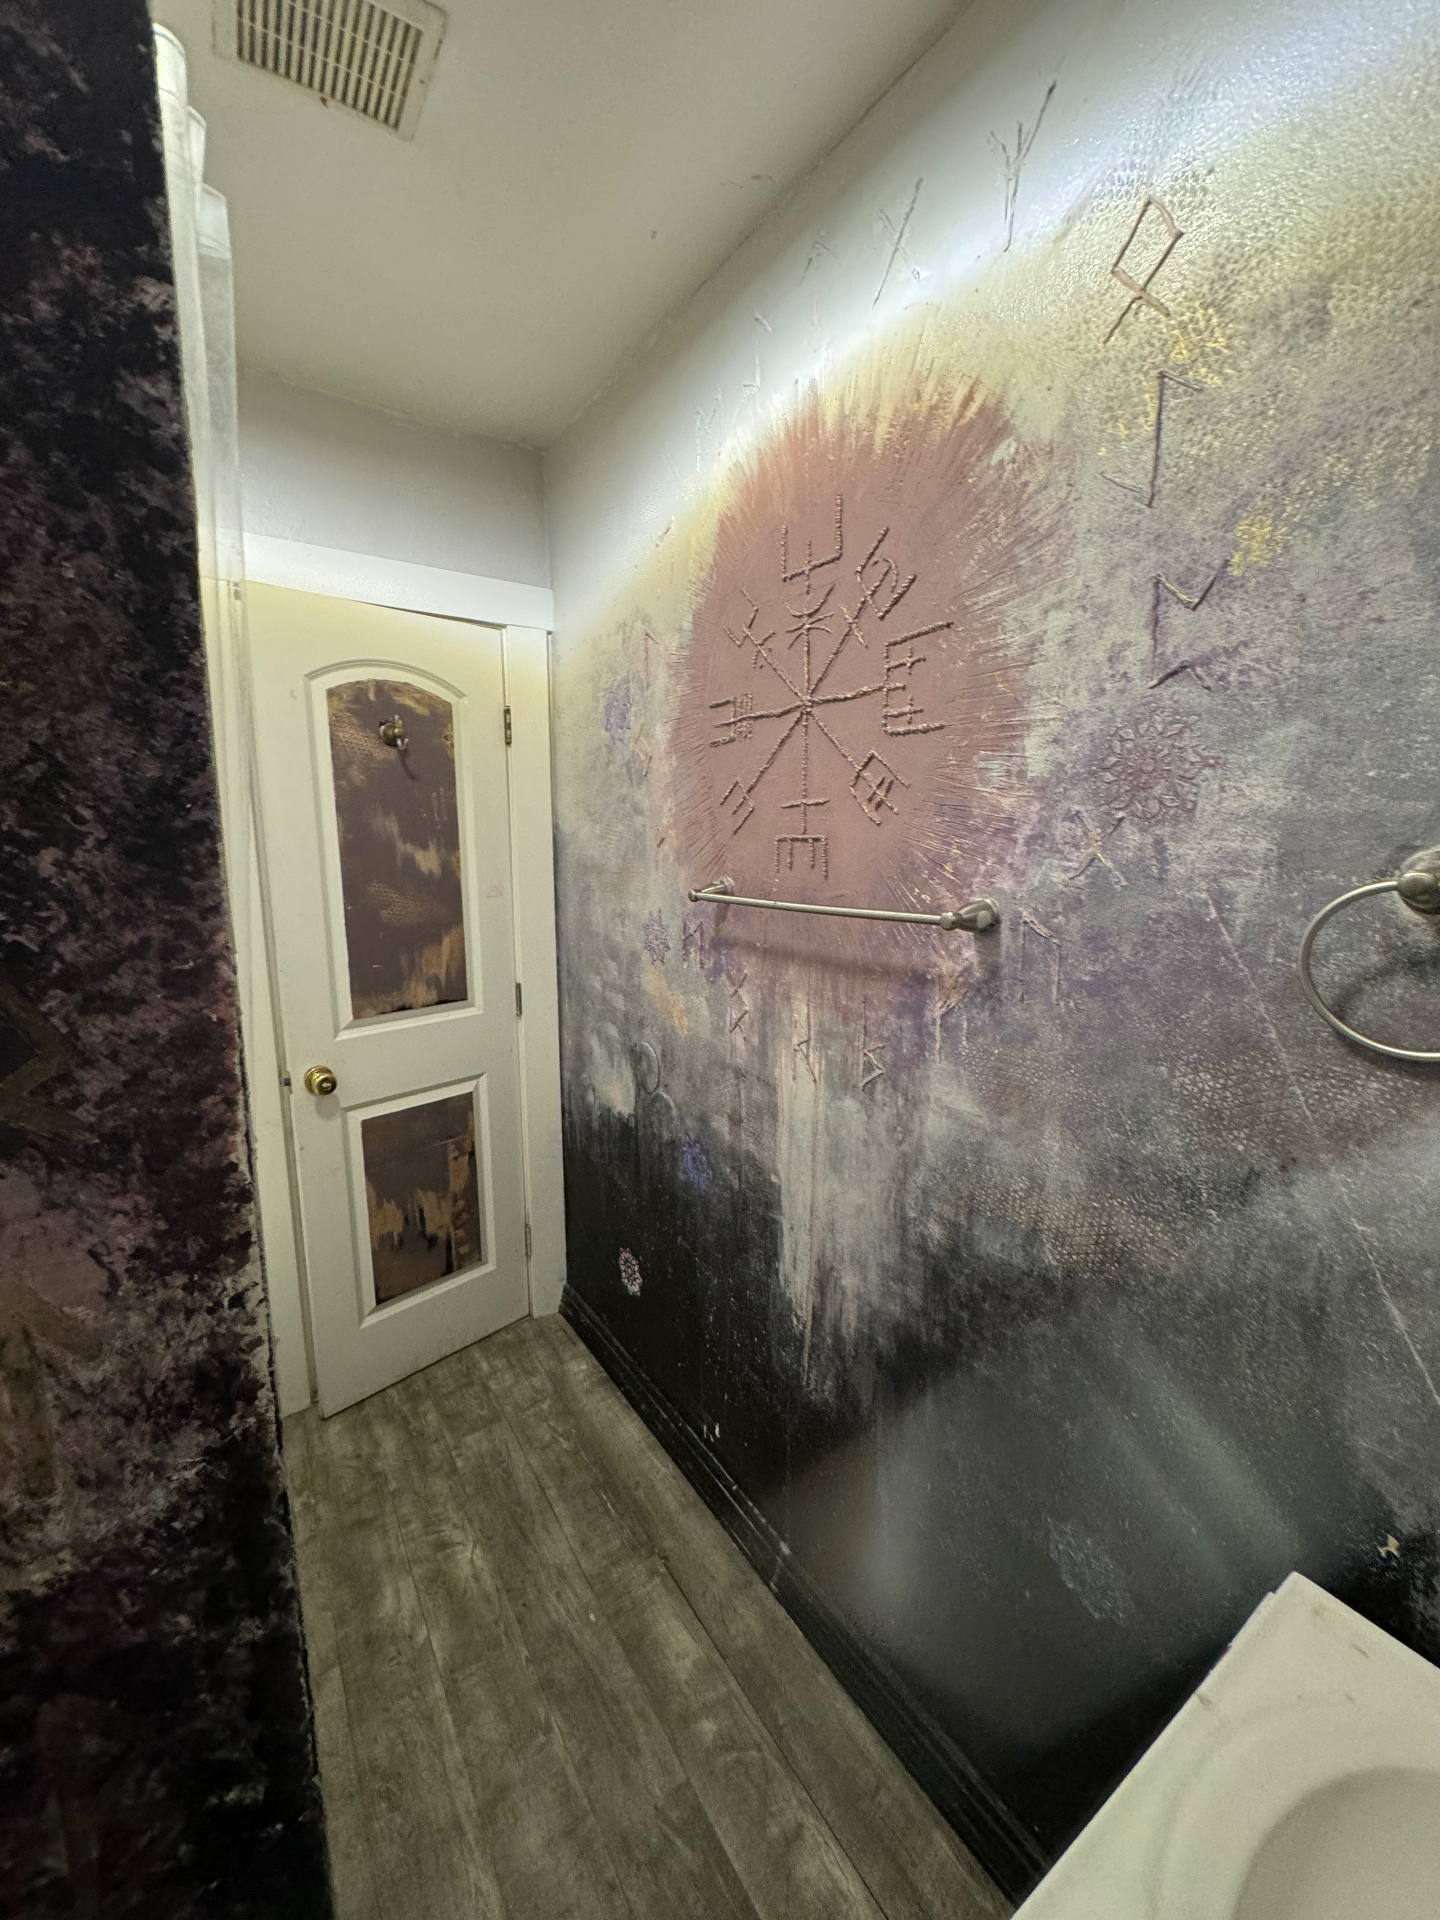
You can soften areas with a thin gray wash, dry-brushed white, sponged charcoal, muted purple glaze, small metallic accents, fine scratch-like marks, or stenciled floral details. Avoid adding every technique everywhere — the focal point needs quieter surrounding areas so it remains readable.
Step 13: Protect the Finish
For a dry bathroom wall, quality primer and bathroom-rated wall paint can provide enough protection. A separate clear topcoat is optional and depends on the paint products used.
When choosing a topcoat, confirm compatibility with the paint, use a water-based non-yellowing product over pale colors, test it in a hidden area, avoid a heavy glossy finish unless intended, and allow all paint layers to cure first. A matte or satin finish usually preserves the aged-plaster appearance better than high gloss.
Common Problems and How to Fix Them
The putty line keeps breaking. The compound could be too stiff, the bag opening could be too small, or you could be moving too quickly. Mix thoroughly and test a slightly larger opening.
The lines are sagging. The compound is too wet, the line is too thick, or the wall surface is slick. Remove the sagging section while wet and reapply a thinner line.
The design cracked after drying. The compound was applied too thickly, dried too quickly, or was painted before fully drying. Fill small cracks with a thin layer of compound, let it dry, then sand and repaint.
The metallic paint looks too bright. Soften it with a thin dark glaze or dry-brush the wall's base color lightly over it. Metallic paint works best as a highlight, not a solid reflective stripe.
The design blends into the wall. Increase contrast around the edges. Add a darker shadow beside the line or a lighter metallic highlight directly on top.
Where This Technique Works Best
Raised joint-compound art works well on accent walls, entryways, powder rooms, bedrooms, hallways, fireplace surrounds outside direct heat zones, studio walls, decorative wall panels, canvas boards, and furniture panels.
It is not ideal for shower interiors, frequently splashed wet walls, flexible surfaces, crumbling plaster, walls with active leaks, or outdoor surfaces unless using exterior-rated materials.
Other Designs You Can Create With Wall Putty
Once you understand the basic technique, you can adapt it to raised botanical stems, abstract faces, sun and moon designs, geometric arches, Art Deco borders, raised lettering, topographic lines, floral medallions, faux carved panels, and minimalist line drawings.
You can also apply compound through a stencil with a putty knife to create repeated raised patterns — that method is faster for tiles, borders, and all-over wall designs.
Tools & Supplies I Recommend
{{product:f5fc9d14-29a4-4b7d-b2d9-2c30877a7a6e|Top Pick}}
{{product:1023c2e7-be97-4bc5-9f7c-35520221a2cc|Budget Pick}}
Final Thoughts
This wall started as a plain bathroom surface and became a full-room art piece using paint, texture, and joint compound.
The raised putty lines are not complicated by themselves. What makes the finished wall look detailed is the combination of a strong central design, layered background color, uneven texture, dark shadows, metallic highlights, and a willingness to stop chasing perfection.
That last part matters. A weathered finish should not look like it was measured by a robot with emotional control issues. Slight variation, roughness, and visible handwork are exactly what give it character.
The same technique can be scaled down for a small canvas or expanded across an entire accent wall. Start with a simple design, test your putty consistency, and build the finish in layers. The wall does not need to be perfect. It needs to look intentional.