
How to Build a DIY Pallet Patio Sofa
A beginner-friendly guide to building a sturdy, affordable outdoor pallet sofa — from picking safe pallets to sealing and cushioning the finished piece.
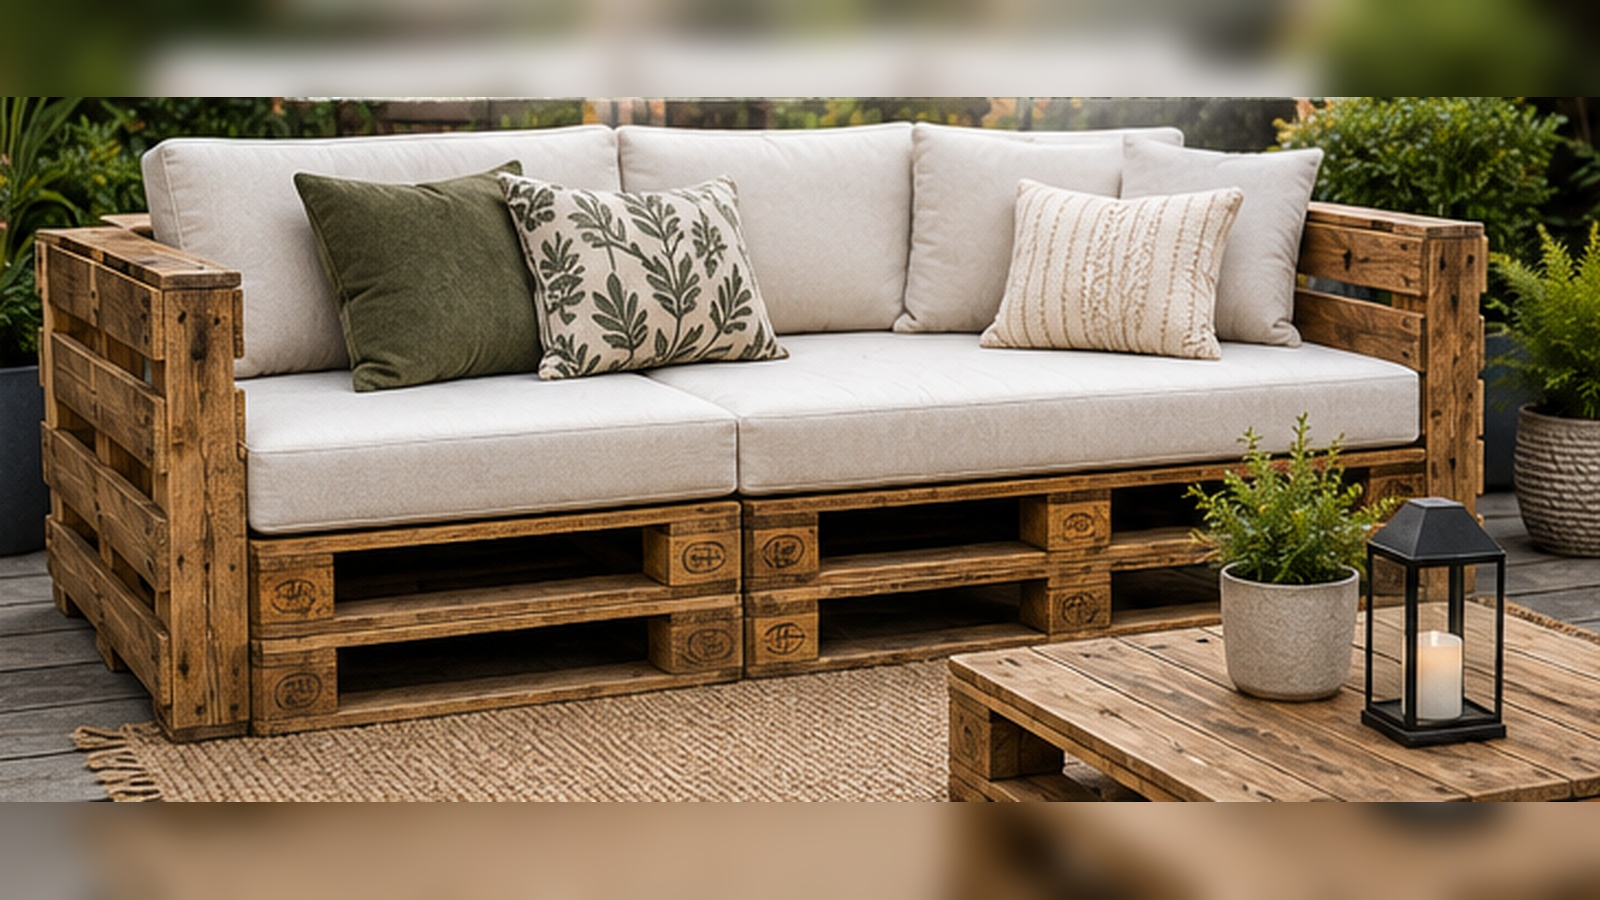
Disclosure: This post may contain affiliate links. If you purchase through one of these links, ProjectPerfectDIY may earn a commission at no additional cost to you.
Outdoor furniture gets expensive fast. A basic patio sofa can cost hundreds of dollars, and somehow the cushions are often sold separately—as if sitting comfortably were an optional upgrade.
A pallet sofa is a practical alternative because most of the frame is already built for you. With a few solid pallets, exterior screws, some sanding, and a weather-resistant finish, you can create a sturdy outdoor sofa without complicated woodworking.
This is a beginner-friendly build, but do not skip the preparation. Pallet wood is rough, and not every pallet is suitable for furniture.
Choose the Cushions First
Before collecting pallets or cutting anything, choose your outdoor cushions.
Measure:
- The width of each seat cushion
- The total seating length
- Cushion depth
- Back-cushion height
- Cushion thickness
Then build the sofa around those measurements.
Pallet sizes are not always consistent, so measure every pallet individually. It is much easier to adjust the frame before assembly than to spend three hours trying to force cushions into a space they clearly did not agree to occupy.
Choose Safe, Sturdy Pallets
Look for pallets that are:
- Clean and dry
- Free from mold and strong odors
- Structurally solid
- Free from oil or chemical stains
- Marked HT, which means heat-treated
Avoid pallets marked MB, heavily stained pallets, or anything with an unknown history.
Inspect the boards for loose nails, rot, deep cracks, insect damage, and weak areas. Minor dents and discoloration are fine. Soft or crumbling wood is not.
Supplies
You will need:
- Three or more safe wooden pallets
- Exterior wood screws
- Structural screws or lag screws
- Metal corner braces or mending plates
- Exterior wood glue
- Sandpaper
- Exterior stain, paint, or sealer
- Outdoor cushions
- Furniture feet, risers, or locking casters
Helpful tools include a drill, orbital sander, measuring tape, saw, clamps, pry bar, and safety equipment.
For a simple loveseat, use two stacked pallets for the seat and one pallet for the back. For a longer sofa, place two pallet sections side by side.
Step 1: Clean and Inspect the Pallets
Brush away dirt and debris, then scrub the wood with mild soap and water.
Do not completely soak the pallets. Clean them thoroughly, rinse lightly, and let them dry before moving on.
Depending on the weather, drying can take a day or longer. Sealing damp wood can trap moisture and lead to mildew or peeling later.
Once dry, remove bent or protruding nails. Replace weak fasteners with exterior screws and repair minor splits with exterior-rated wood glue.
 Step demonstration — a clean, dry pallet marked HT, ready to build with.
Step 2: Cut the Pallets if Needed
You can leave the pallets whole if they match your cushion size.
For a narrower sofa, mark the cut line carefully and make sure the remaining pallet still has enough structural support. Remove nails near the cutting area before using a saw.
If cutting removes part of a supporting stringer or block, reinforce the new edge with exterior lumber or reclaimed pallet boards.
Cut both seat pallets to the same size so they stack evenly.
Step 3: Sand the Wood
This is the part that separates usable furniture from a decorative splinter trap.
Start with coarse sandpaper to remove rough spots, raised grain, and sharp edges. Follow with a medium grit to smooth the surface.
Focus on:
- The front edge of the seat
- Armrests
- The backrest
- Corners
- Any surface that touches cushions or skin
You do not need to remove every dent or mark. The worn wood is part of the look. You are mainly removing anything sharp, loose, or uncomfortable.
An orbital sander makes this much faster, although hand-sanding is useful around edges and tight areas.
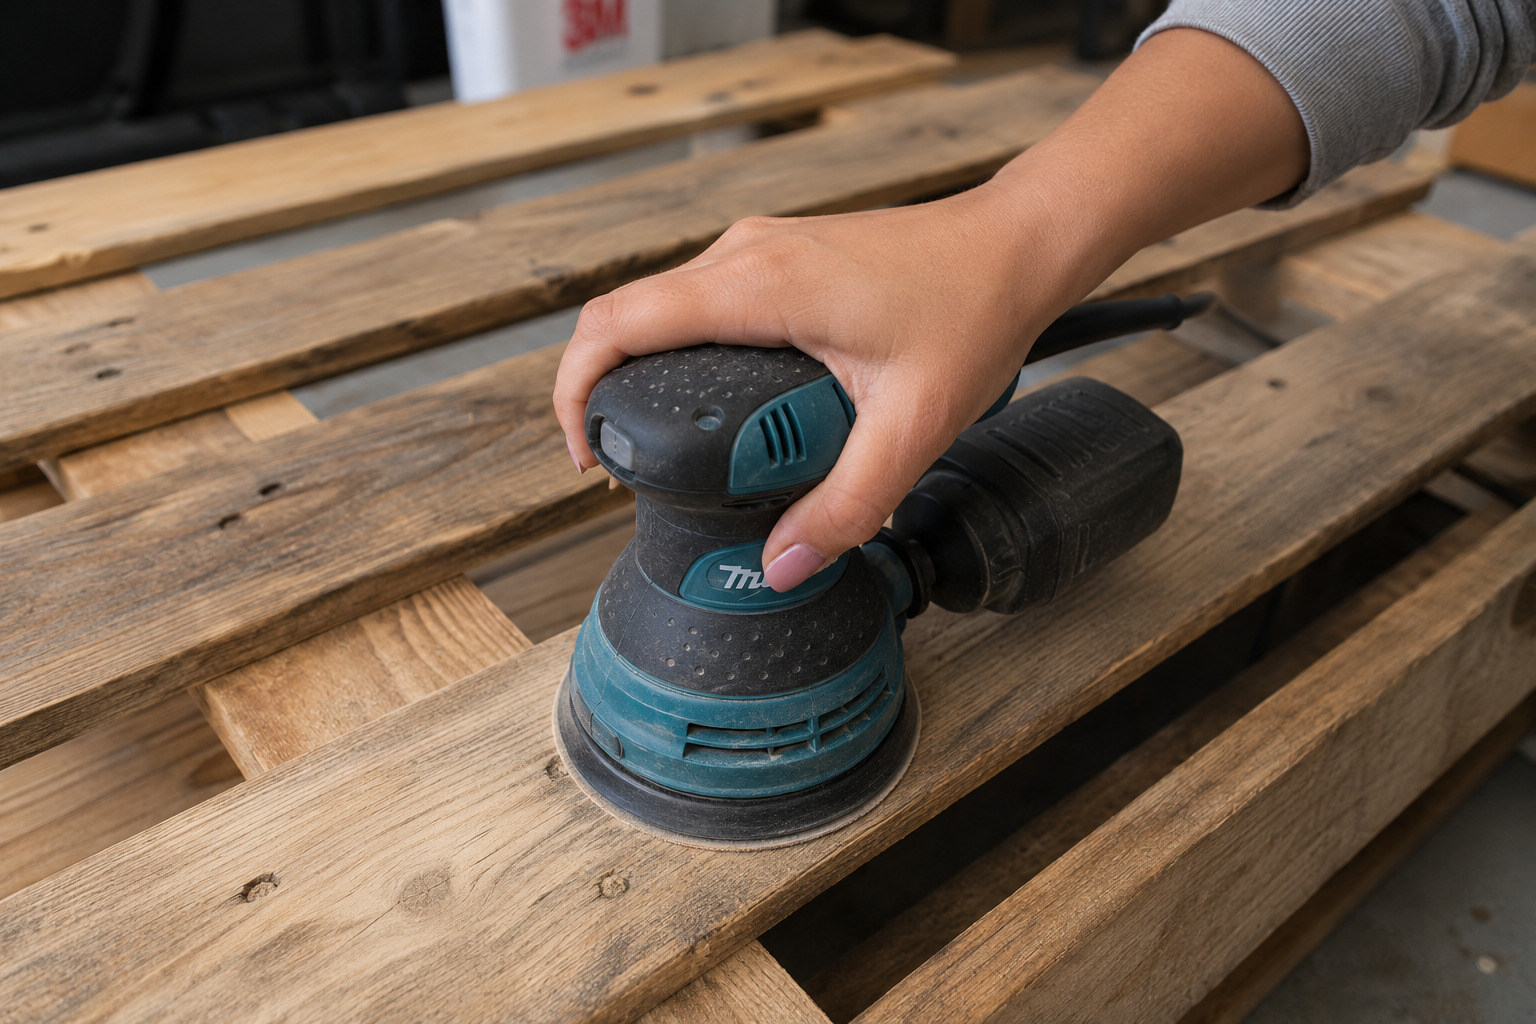 Step demonstration — smoothing pallet boards with an orbital sander before assembly.
Step 4: Build the Seat Base
Place one pallet on a flat surface and stack the second pallet directly on top.
Line up the corners and supporting blocks, then clamp the pallets together if possible.
Drive exterior structural screws through the upper pallet supports into the lower pallet. Secure the front, back, and sides.
Add metal mending plates or corner braces inside the frame for extra strength.
Before attaching the backrest, check that the base sits flat and does not shift or rock.
If the pallet boards flex too much, add additional supports beneath the seat.
Step 5: Attach the Backrest
Position the third pallet upright along the back of the seat base.
A straight back is easiest to build. A slightly angled back is more comfortable but requires additional support braces.
Secure the backrest into the strong structural areas of the seat—not only into thin pallet slats.
Use:
- Structural screws
- Heavy-duty corner braces
- Metal mending plates
- Wooden support blocks
Push against the backrest from several angles. It should not wobble, creak, or lean backward under pressure.
Step 6: Add Armrests
Armrests are optional, but they make the sofa look more finished.
You can build them from:
- Short pallet sections
- Reclaimed boards
- Exterior lumber
- Stacked pallet blocks
Attach each arm to both the seat frame and backrest so it cannot twist.
A wider armrest can double as a small side table for drinks, books, or the phone you absolutely promised yourself you would not drop between the cushions again.
Step 7: Raise the Sofa Off the Ground
Do not leave the wood sitting directly on damp soil or concrete.
Add:
- Rubber furniture feet
- Pressure-treated wood blocks
- Plastic risers
- Outdoor furniture glides
- Locking casters
Casters make the sofa easier to move, but they need to be rated for the combined weight of the furniture and the people using it.
Use locking casters so the sofa stays in place.
Step 8: Stain, Paint, or Seal the Wood
Outdoor pallet furniture needs protection from moisture and sunlight.
For a natural finish, use an exterior wood stain or clear exterior sealer. For a cleaner, more modern look, use exterior paint.
Apply the finish to:
- The top
- The sides
- The back
- The underside
- Cut ends
- Gaps between boards
The underside is easy to forget, but it is often the area most exposed to trapped moisture.
Apply thin coats and let each coat dry according to the product instructions.
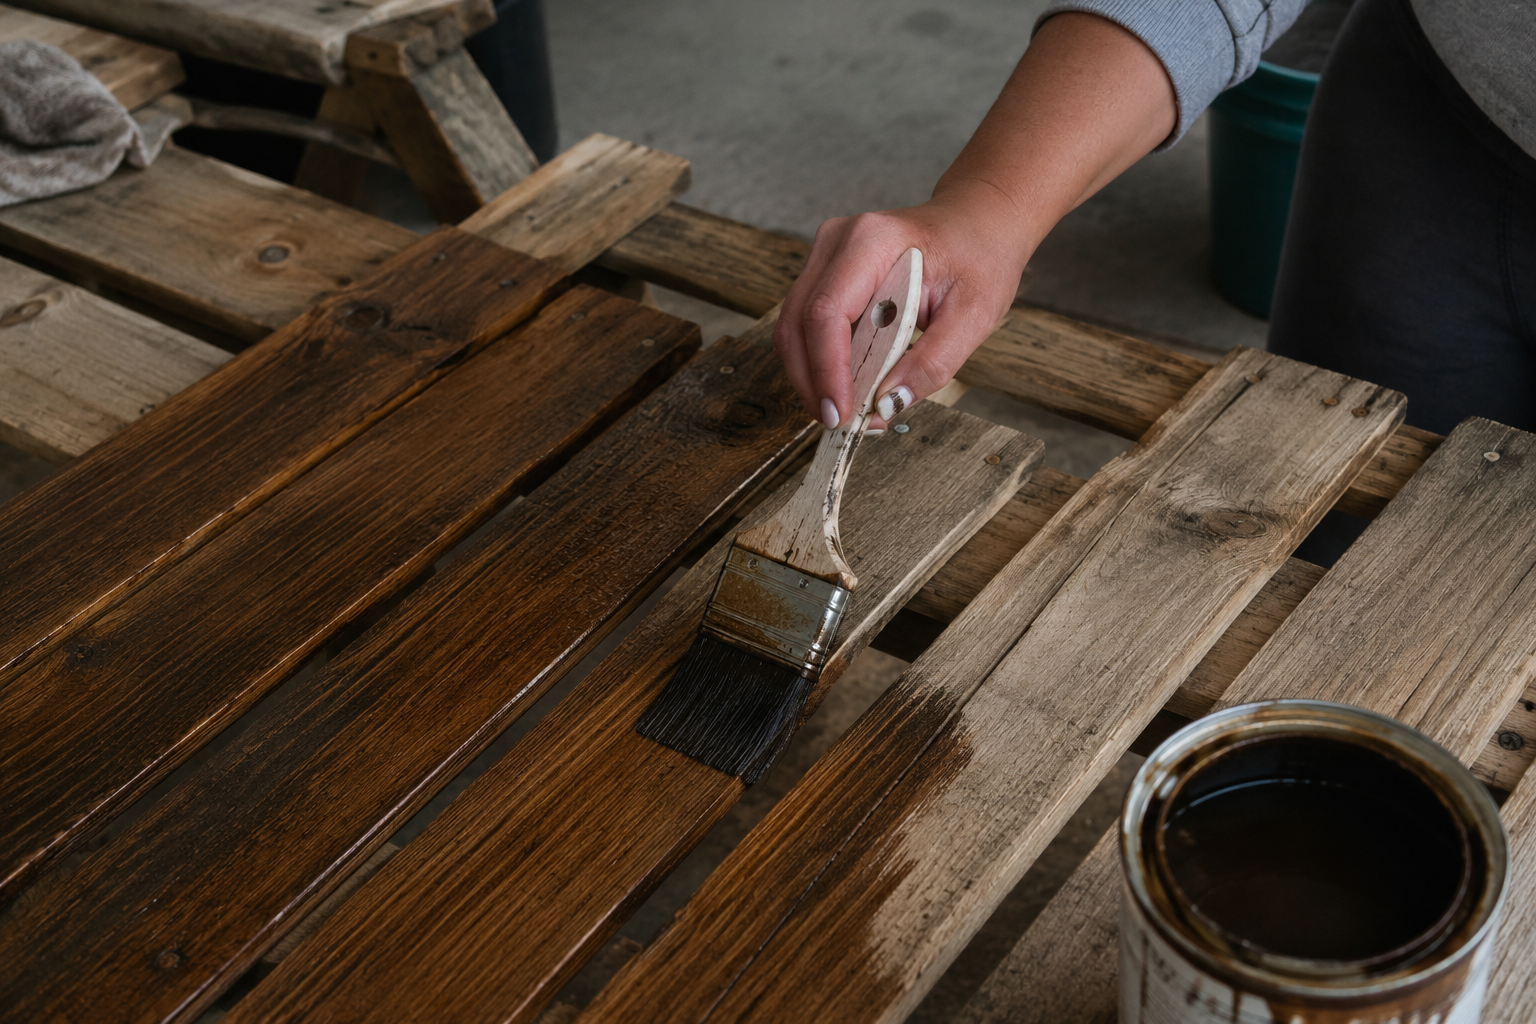 Step demonstration — applying exterior stain to seal and protect the pallet wood.
Step 9: Add the Cushions
Once the finish has fully cured, place the seat and back cushions.
Use outdoor cushions made from water-resistant or quick-drying fabric.
To keep them from sliding, add:
- Nonslip furniture pads
- Outdoor hook-and-loop strips
- Cushion ties
- Hidden fabric straps
Add a few outdoor pillows, but leave enough room for people to sit. It is still a sofa, not a decorative pillow habitat.
Optional Upgrades
Once the main sofa is finished, you can add:
- A matching pallet coffee table
- Built-in side shelves
- Hidden storage under the seat
- Solar lights beneath the frame
- An L-shaped extension
- A hinged storage armrest
Keep the first build simple. You can always add upgrades later.
Maintaining Your Pallet Sofa
Store cushions indoors during heavy rain and cover the sofa when it is not being used.
Check the frame periodically for:
- Loose screws
- Cracks
- Soft wood
- Peeling finish
- Rusted hardware
Reapply exterior sealer when the wood begins absorbing water instead of repelling it.
Tools & Supplies I Recommend
{{product:dbac44e8-4f3f-4df3-80a0-4c1fcd624d3c|Top Pick}}
{{product:63ee3c9a-ed22-4249-a031-8bc6e0d57ce1|Budget Pick}}
Final Thoughts
A pallet patio sofa is affordable, customizable, and manageable for a beginner.
The key is not complicated joinery. It is choosing safe pallets, sanding them properly, reinforcing the frame, and protecting the wood from the weather.
Once the cushions are added, the finished sofa looks far more polished than the pile of pallets it started as—which is honestly the entire magic trick.