
13 Paint Techniques That Can Completely Transform Your DIY Projects
From dry brushing and whitewashing to faux concrete and crackle finishes, these 13 decorative paint techniques can transform furniture, walls, and DIY projects without professional skills.
Disclosure: This post may contain affiliate links. If you purchase through one of these links, ProjectPerfectDIY may earn a commission at no additional cost to you.
A fresh coat of paint can fix a lot of things. An outdated dresser, a boring accent wall, a thrift-store table that has seen better days—you name it.
But paint does not have to mean rolling on one solid color and calling it finished.
Different paint techniques can add texture, dimension, age, movement, and personality to a project. Some can make inexpensive furniture look custom-built. Others can turn a plain wall into the focal point of an entire room.
And no, you do not need to be a professional decorative painter to pull them off.
Below are 13 paint techniques worth trying, including what each technique looks like, where it works best, and a few tips that can save you from the dreaded "this looked better in my head" moment.
1. Dry Brushing
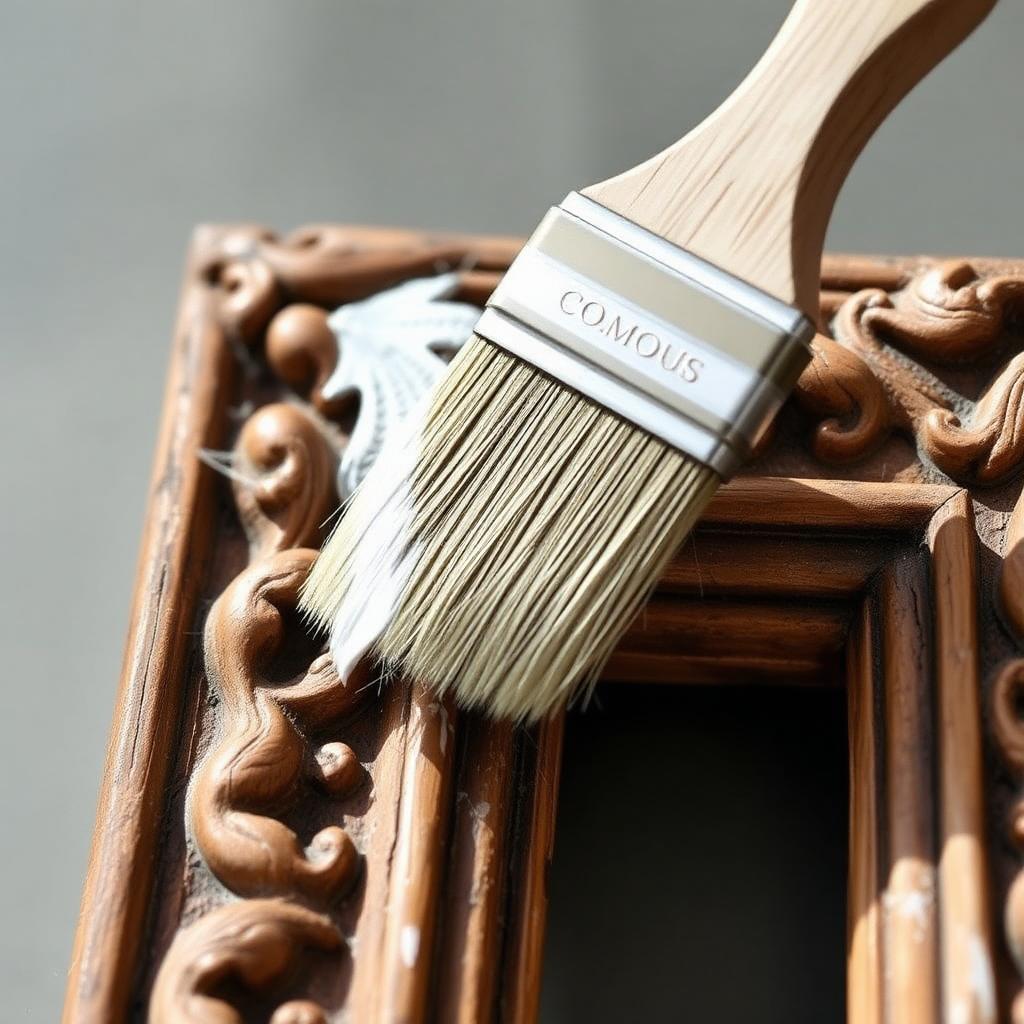
Dry brushing creates soft, streaky highlights that bring out the texture and details of a surface.
Instead of loading your brush with paint, you dip just the tips of the bristles into the paint and wipe most of it off before lightly dragging the brush across the project.
It works especially well on:
- Carved furniture
- Picture frames
- Cabinet doors
- Wood signs
- Decorative molding
- Textured baskets and planters
Dry brushing is one of my favorite techniques for furniture with raised details because the paint catches the high points without covering the entire base color.
Quick Tip: Use a stiff-bristled brush and very little paint. You can always add another layer, but removing a heavy dry-brushed section is much harder.
2. Distressed Paint
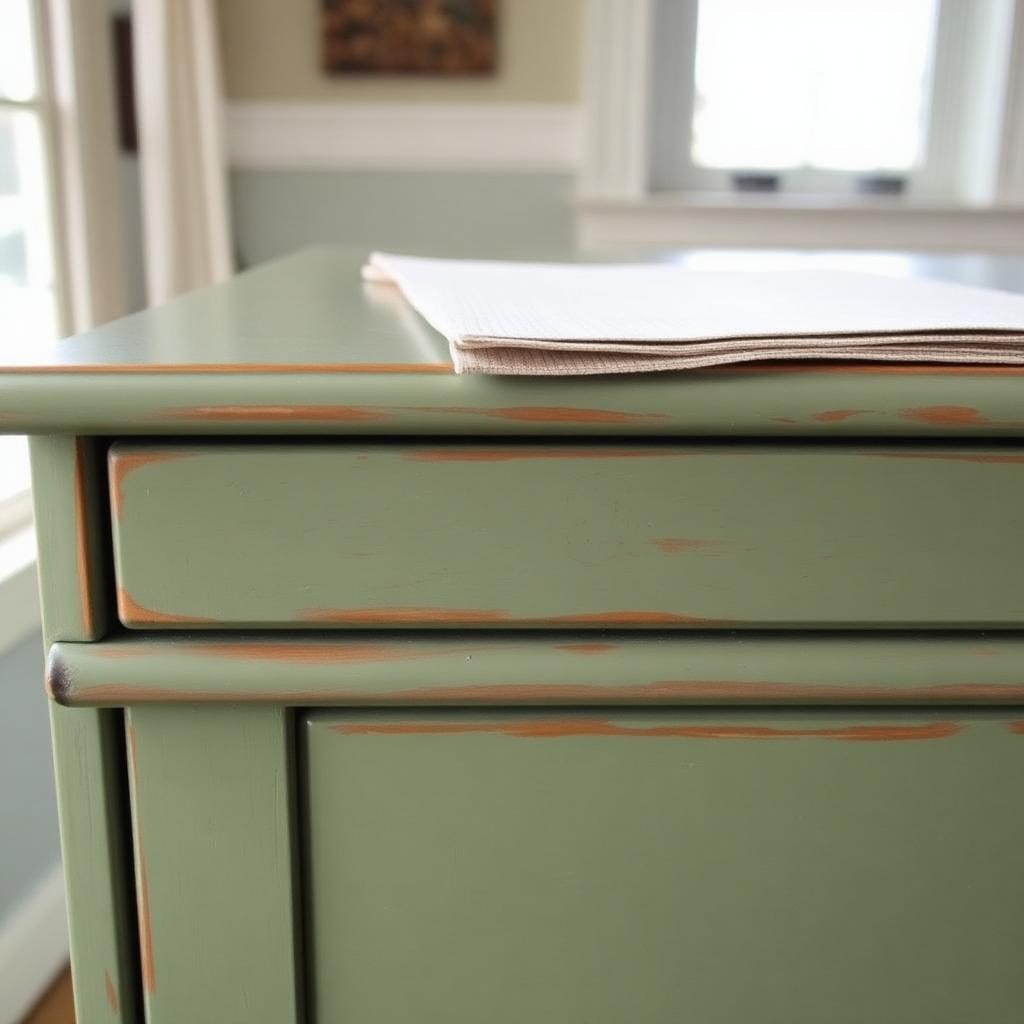
Distressing gives furniture and décor a worn, aged, or farmhouse-style finish.
The basic idea is simple: paint the piece, then remove small amounts of paint from areas that would naturally experience wear over time.
Focus on:
- Corners
- Edges
- Drawer fronts
- Raised details
- Areas around knobs and handles
You can distress paint using sandpaper, a sanding sponge, steel wool, or even a damp cloth if you are working with chalk-style paint.
For a more layered appearance, paint the piece in one color, add a second color over it, and lightly sand through the top layer so the first color shows underneath.
Do Not Overdo It: Randomly sanding every inch of a piece can make the distressing look forced. Concentrate on spots that would realistically get bumped, handled, or worn.
3. Whitewashing
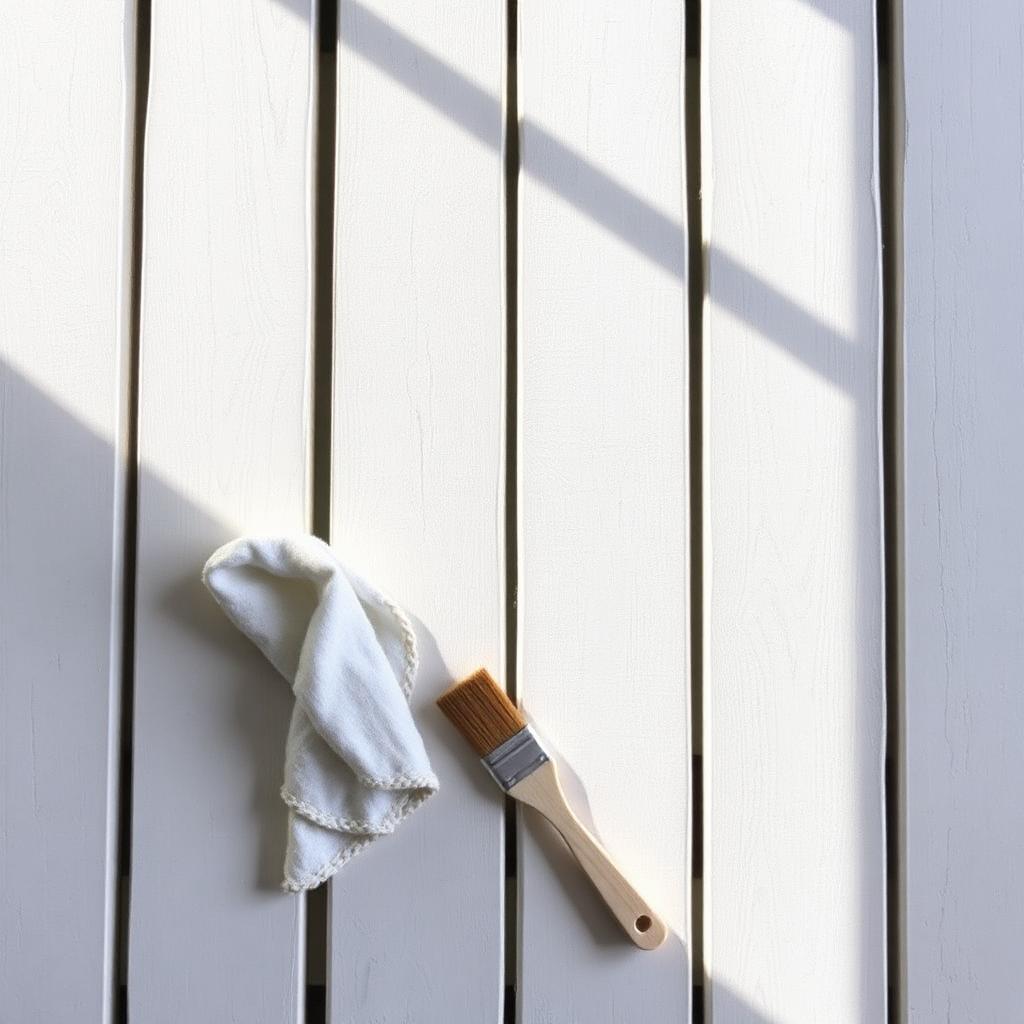
Whitewashing allows some of the original wood grain or base color to show through a thin layer of white paint.
It creates a soft, casual finish that works beautifully with coastal, farmhouse, rustic, and Scandinavian-style spaces.
A basic whitewash mixture can be made by thinning water-based paint with water. The exact ratio depends on how transparent you want the finish, but starting with equal parts paint and water gives you a workable consistency.
Brush the mixture onto the surface, then wipe away the excess with a clean cloth before it dries.
Whitewashing works well on:
- Raw wood
- Pallet projects
- Brick
- Wooden ceilings
- Planters
- Farmhouse tables
- Decorative wall panels
Test the mixture on a scrap piece first. Different types of wood absorb paint differently, and some soak it up much faster than others.
4. Color Washing
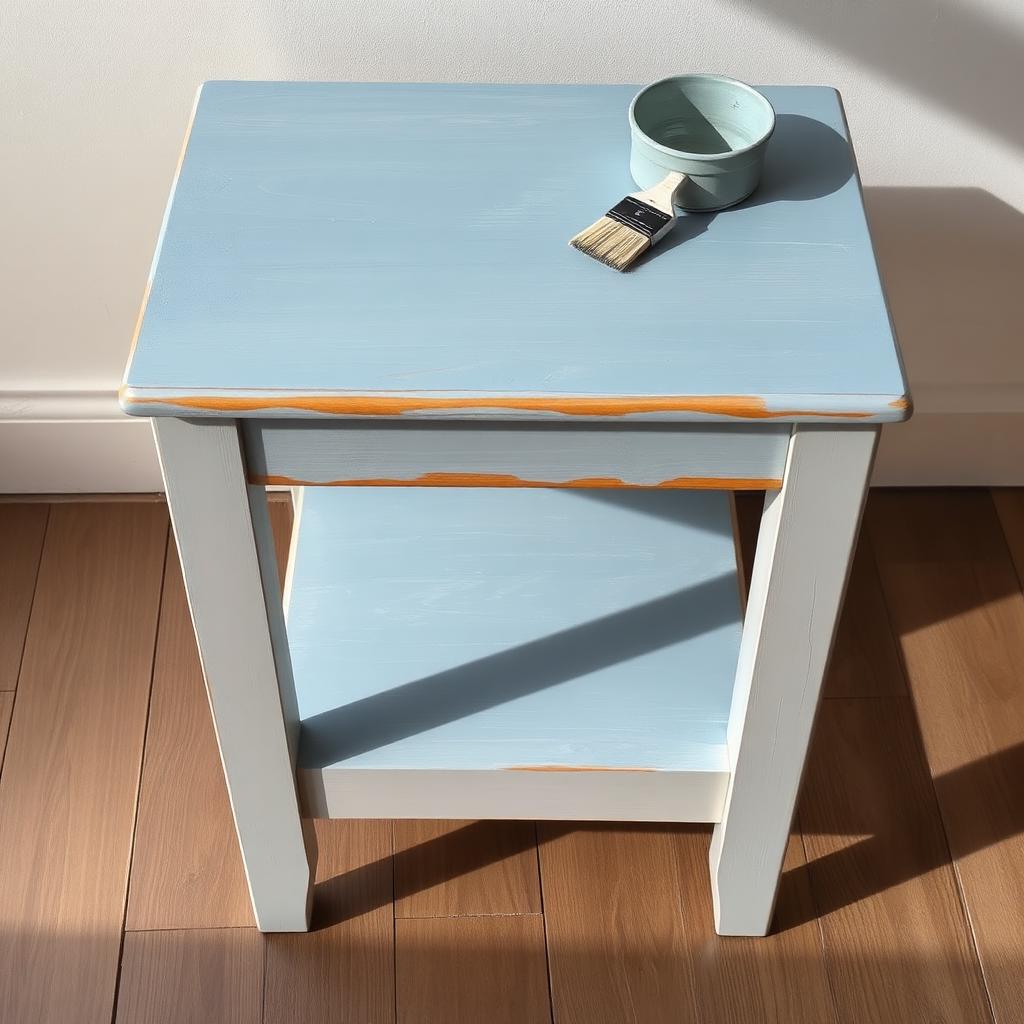
Color washing creates a soft, cloudy layer of color rather than a perfectly solid finish.
It is similar to whitewashing, but you can use nearly any paint color. The technique adds movement and depth while allowing the base coat to remain visible underneath.
For example, you could apply a warm beige wash over a cream base or a muted blue wash over gray.
Apply the diluted paint with a brush, sponge, or cloth, then blend it while it is still wet.
Color washing can give walls a subtle, old-world appearance, but it also works on:
- Furniture
- Clay pots
- Fireplace surrounds
- Decorative trays
- Wooden signs
The key is to work in small sections so the paint does not dry before you have time to blend it.
5. Limewashing
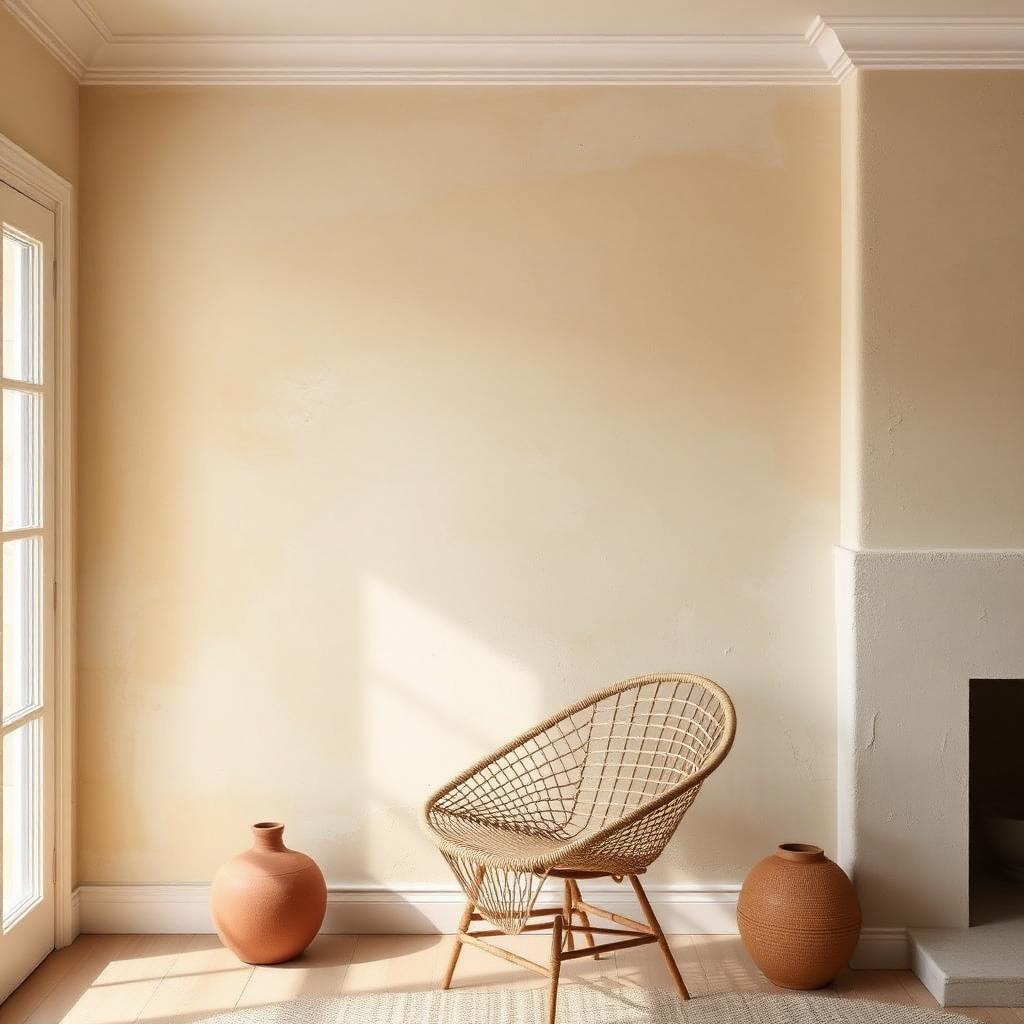
Limewash has become popular because it gives walls a soft, chalky finish with natural-looking variation.
Unlike standard wall paint, limewash creates subtle tonal changes as it dries. The result feels textured and organic without physically adding heavy texture to the wall.
It works especially well in:
- Living rooms
- Bedrooms
- Entryways
- Dining rooms
- Fireplace areas
Limewash is traditionally made from crushed limestone and is applied in overlapping brushstrokes rather than with a standard paint roller.
The final appearance depends heavily on the application method, so do not try to make every brushstroke perfectly even. The variation is the entire point.
Important: Not every wall is ready for limewash straight out of the can. Some surfaces require a mineral-based primer, particularly previously painted drywall. Follow the manufacturer's preparation instructions carefully.
6. Ombre Painting
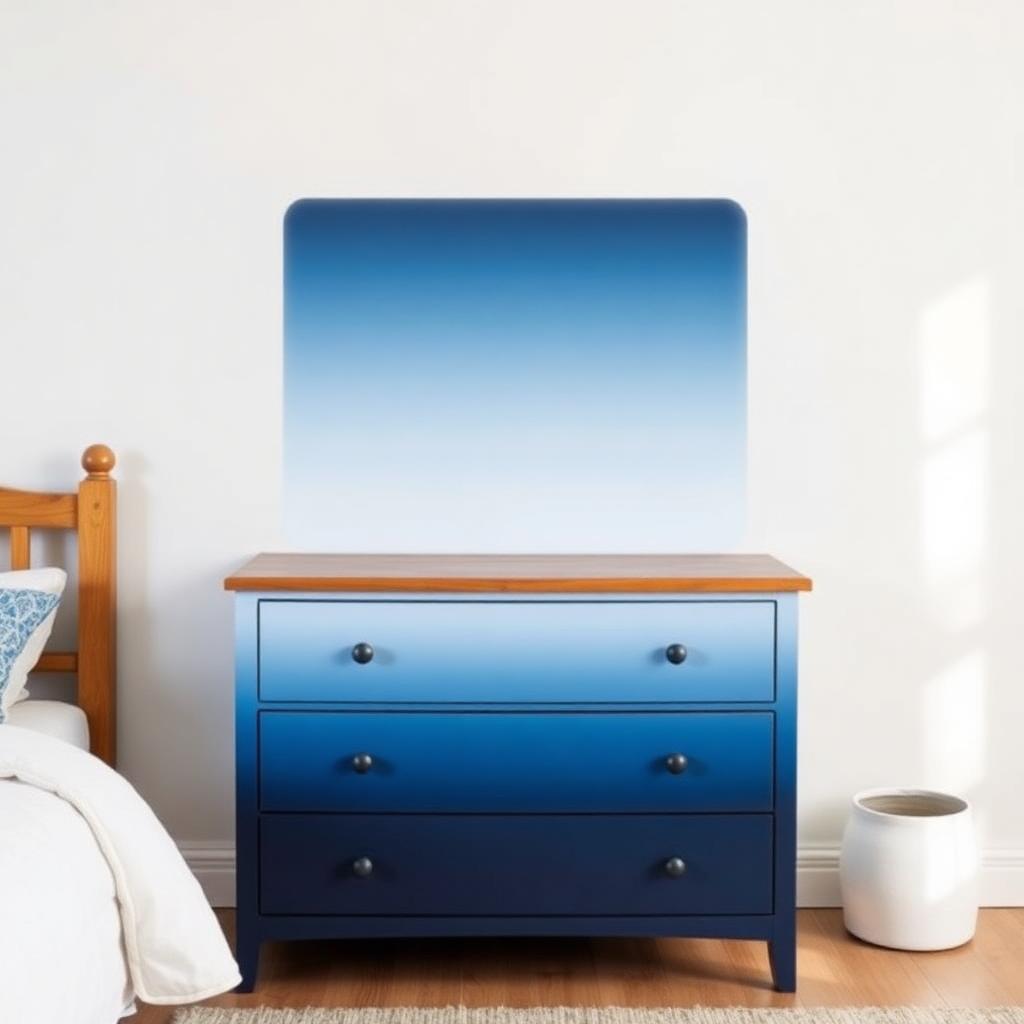
An ombre finish gradually transitions from one color or shade into another.
You can create an ombre wall that fades from dark to light, blend multiple colors across a dresser, or use the technique on smaller projects such as flowerpots and signs.
The easiest beginner method is to choose three shades from the same color family:
- A dark shade
- A medium shade
- A light shade
Apply each color in its general section, then blend the edges while the paint is still wet.
A separate blending brush can help soften the transition without adding too much extra paint.
Ombre painting takes patience, but the result can be dramatic without needing stencils, wallpaper, or complicated tools.
7. Sponge Painting
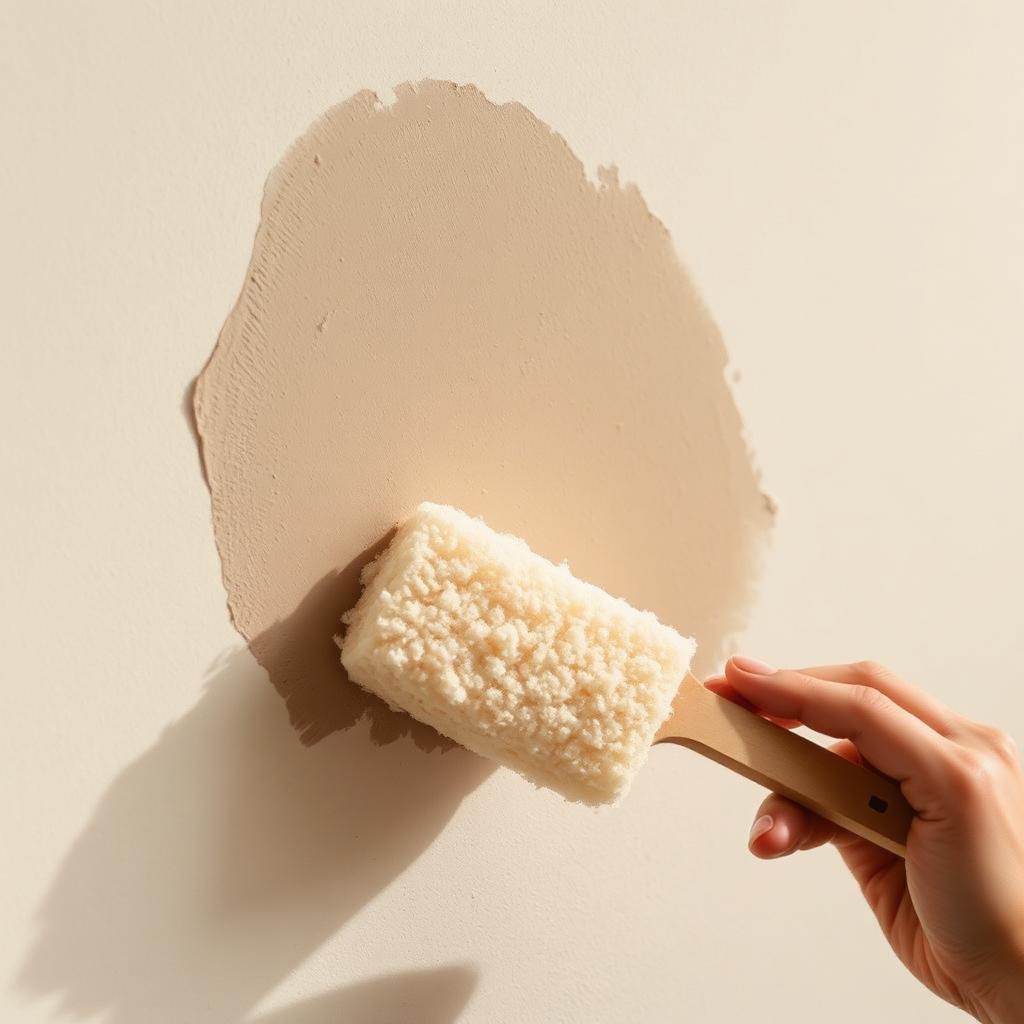
Yes, sponge painting is back—but it does not have to look like a kitchen wall from 1997.
Modern sponge painting tends to use softer colors, lower contrast, and a lighter application.
A natural sea sponge usually creates a more organic pattern than a perfectly shaped synthetic kitchen sponge.
Dip the sponge lightly into the paint, blot off the excess, and gently press it onto the surface. Rotate the sponge as you work so the pattern does not repeat too obviously.
This technique can create the appearance of:
- Stone
- Soft clouds
- Weathered plaster
- Mottled texture
- Layered color
Use two closely related colors for a subtle finish or contrasting colors for something more dramatic.
8. Rag Rolling
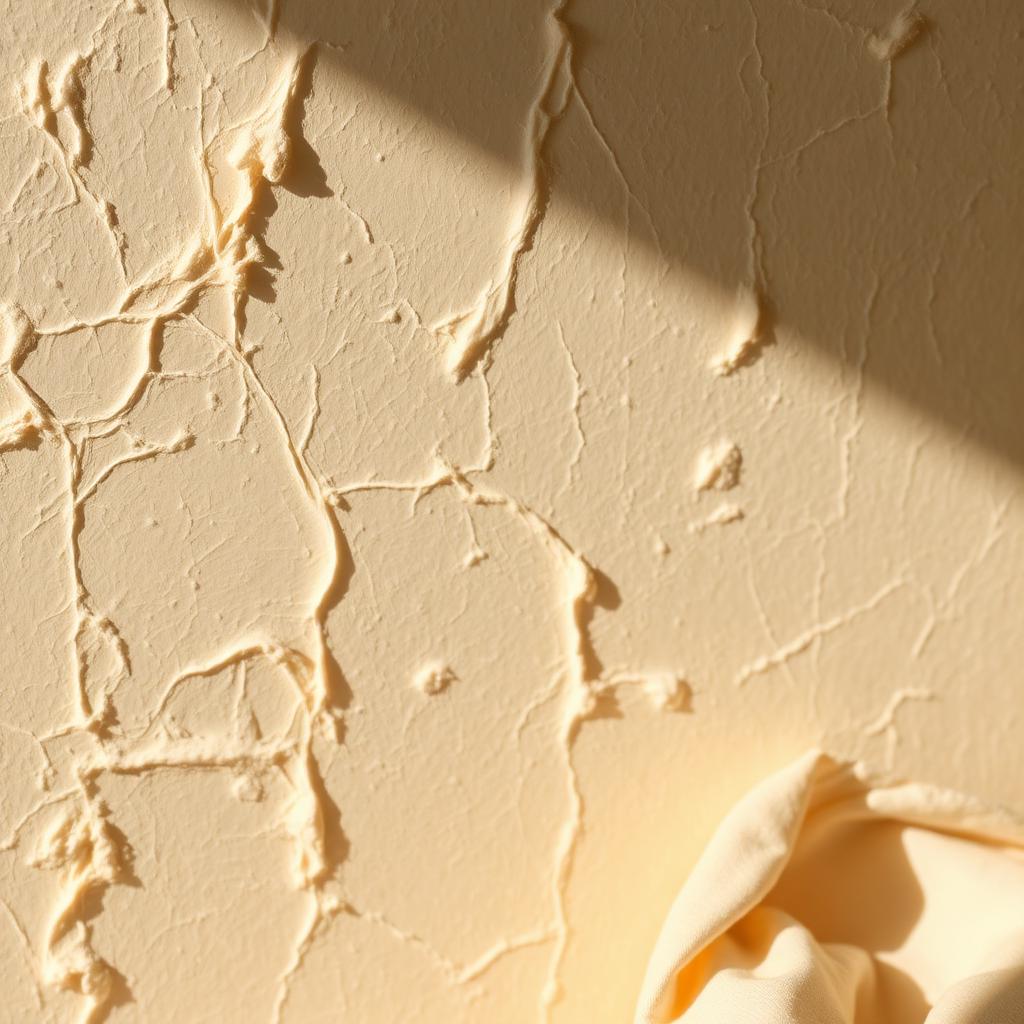
Rag rolling creates a textured, fabric-like pattern by rolling or twisting a cloth through wet glaze or paint.
There are two common ways to do it.
Ragging On: Dip a crumpled cloth lightly into paint or glaze and press it onto the surface.
Ragging Off: Apply a layer of glaze over a dry base coat, then use a clean cloth to remove sections of the wet glaze.
Ragging off usually creates a softer, more blended appearance.
This technique works best when you use a lint-free cloth. An old cotton T-shirt works surprisingly well and does not leave fuzz stuck in the finish.
9. Stenciling
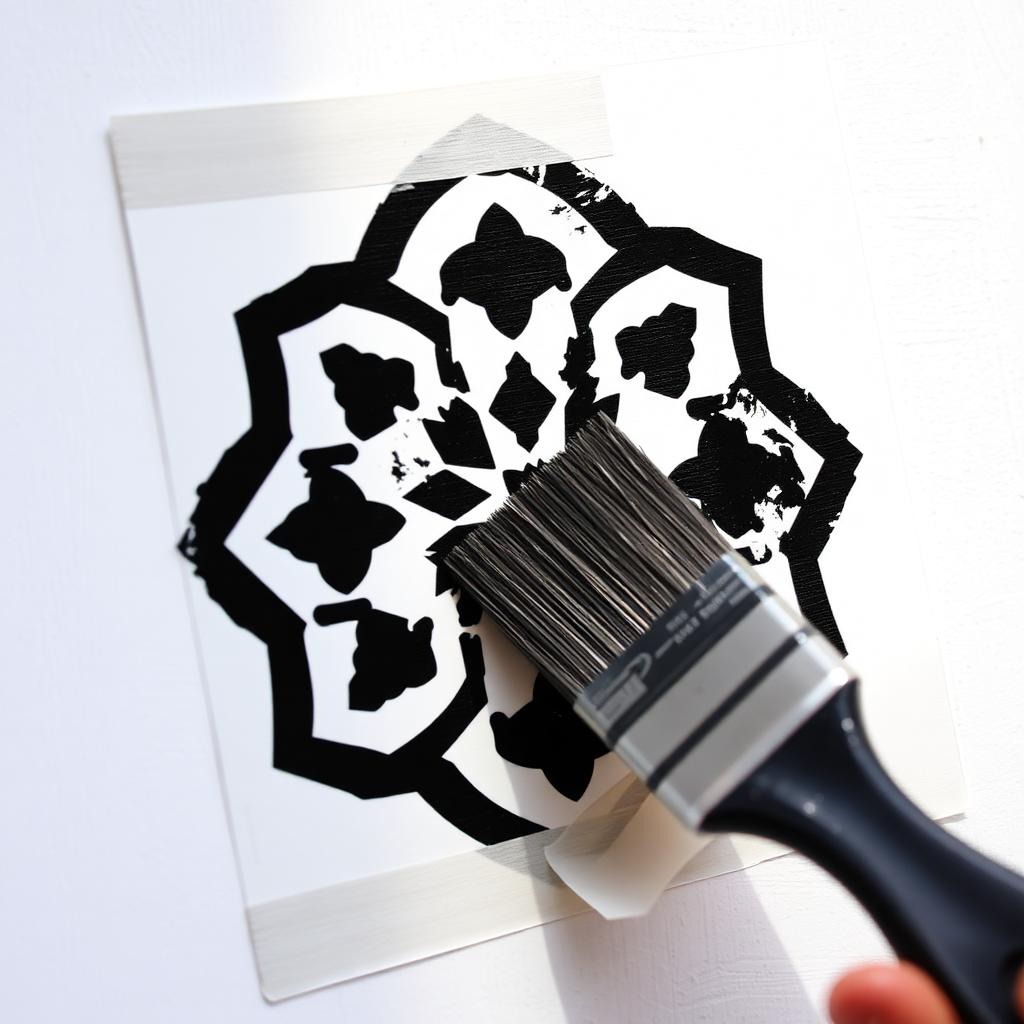
Stenciling is one of the easiest ways to add a detailed design without having to paint it freehand.
You can use stencils to create:
- Floor patterns
- Furniture details
- Wall borders
- Tile-style designs
- Decorative signs
- Repeating accent-wall patterns
The biggest stenciling mistake is using too much paint.
A heavily loaded brush or roller allows paint to seep under the stencil edges, creating blurry lines. Use a stencil brush or small foam roller, remove most of the excess paint, and build the color gradually.
Temporary stencil adhesive or low-tack painter's tape can also help keep the stencil from shifting.
For repeating patterns, use registration marks or a small level to keep everything lined up.
10. Faux Concrete Finish
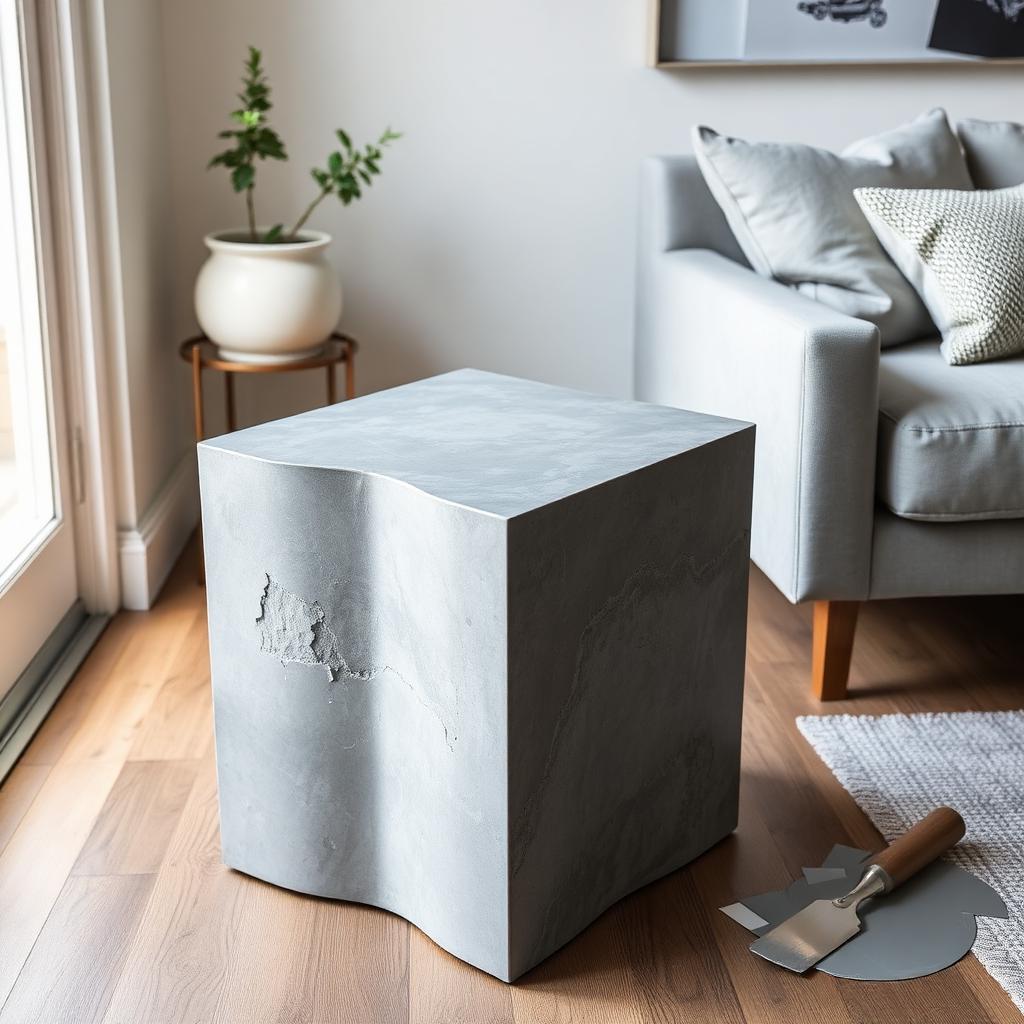
A faux concrete finish gives furniture, walls, planters, and countertops an industrial or modern appearance without the weight and mess of actual concrete.
The finish is usually created by layering different shades of gray and applying them with a brush, sponge, or putty knife.
The goal is not perfect coverage. Real concrete has variation, cloudy areas, darker patches, and imperfections.
Faux concrete finishes look especially good on:
- Tabletops
- Fireplace surrounds
- Accent walls
- Planters
- Lamps
- Decorative bowls
- Furniture tops
For surfaces that will receive regular use, protect the finished paint with an appropriate clear topcoat.
11. Faux Wood Grain
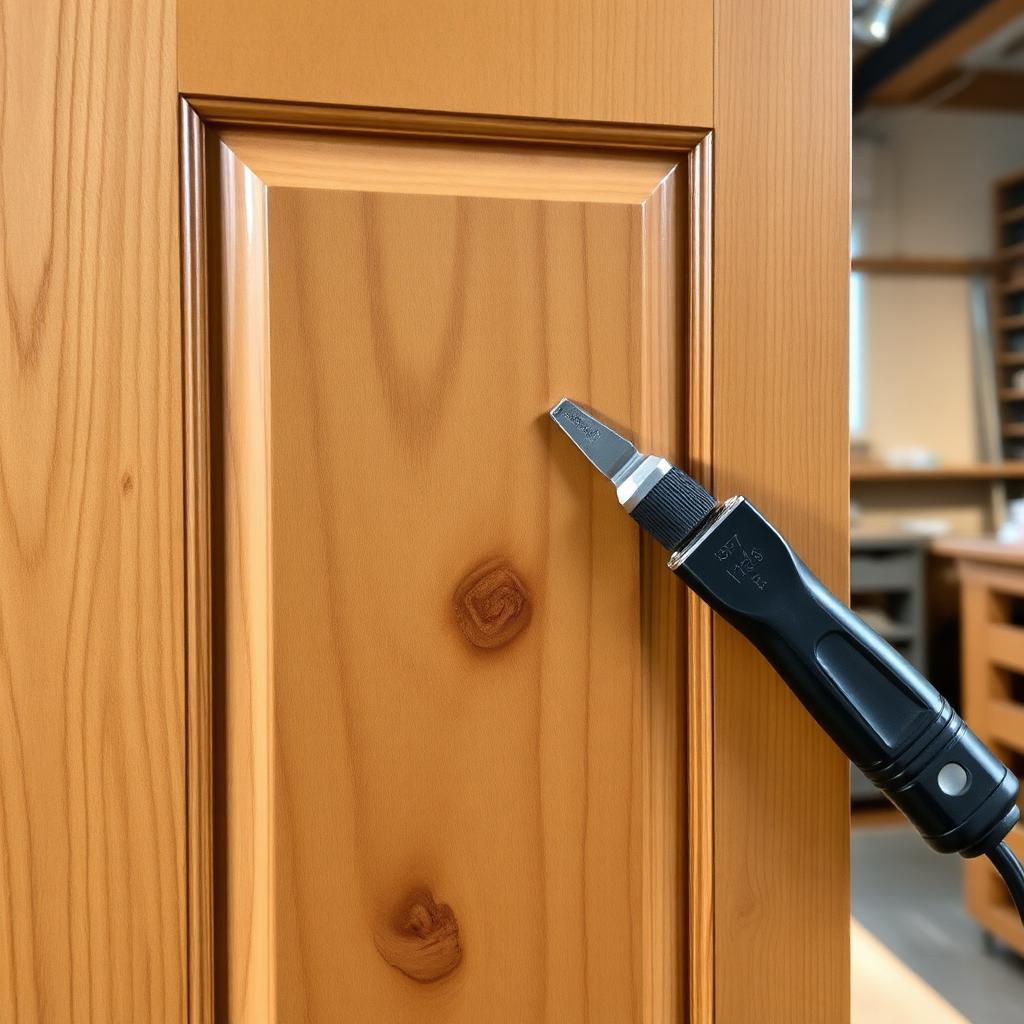
Faux wood graining can make painted surfaces resemble natural wood.
It is useful when working with:
- Laminate furniture
- MDF
- Plain cabinet doors
- Interior doors
- Decorative signs
- Inexpensive shelving
Most faux wood finishes begin with a solid base coat. A darker glaze is then applied over it and pulled through with a wood-graining tool.
The tool creates lines and knots that resemble wood grain as it rocks across the wet glaze.
Practice on cardboard or scrap wood before touching the actual project. The rocking motion takes a few tries to control, and it is much less stressful to make those first mistakes somewhere they do not matter.
12. Blended Furniture Painting
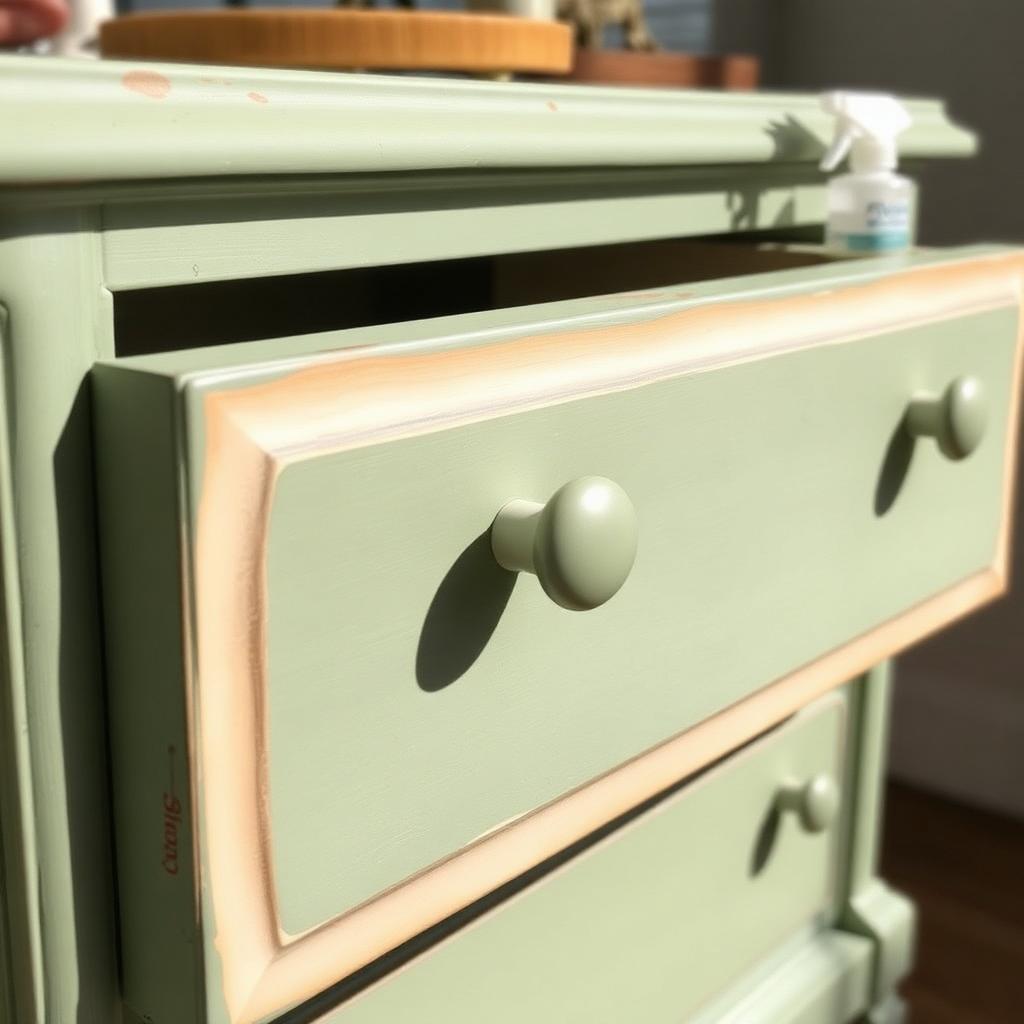
Blended painting uses two or more colors that are softly mixed together directly on the furniture.
Unlike ombre painting, the color placement does not necessarily follow a strict light-to-dark transition. The colors can be blended around drawer fronts, edges, corners, or detailed sections to create depth.
Chalk-style and mineral paints are often used for this technique because they remain workable long enough to blend.
Keep a fine mist spray bottle nearby. A very light mist of water can help reactivate paint that begins drying too quickly.
The keyword here is light. Soaking the furniture can create drips, thin the paint too much, and turn a controlled blend into a muddy mess.
13. Crackle Finish
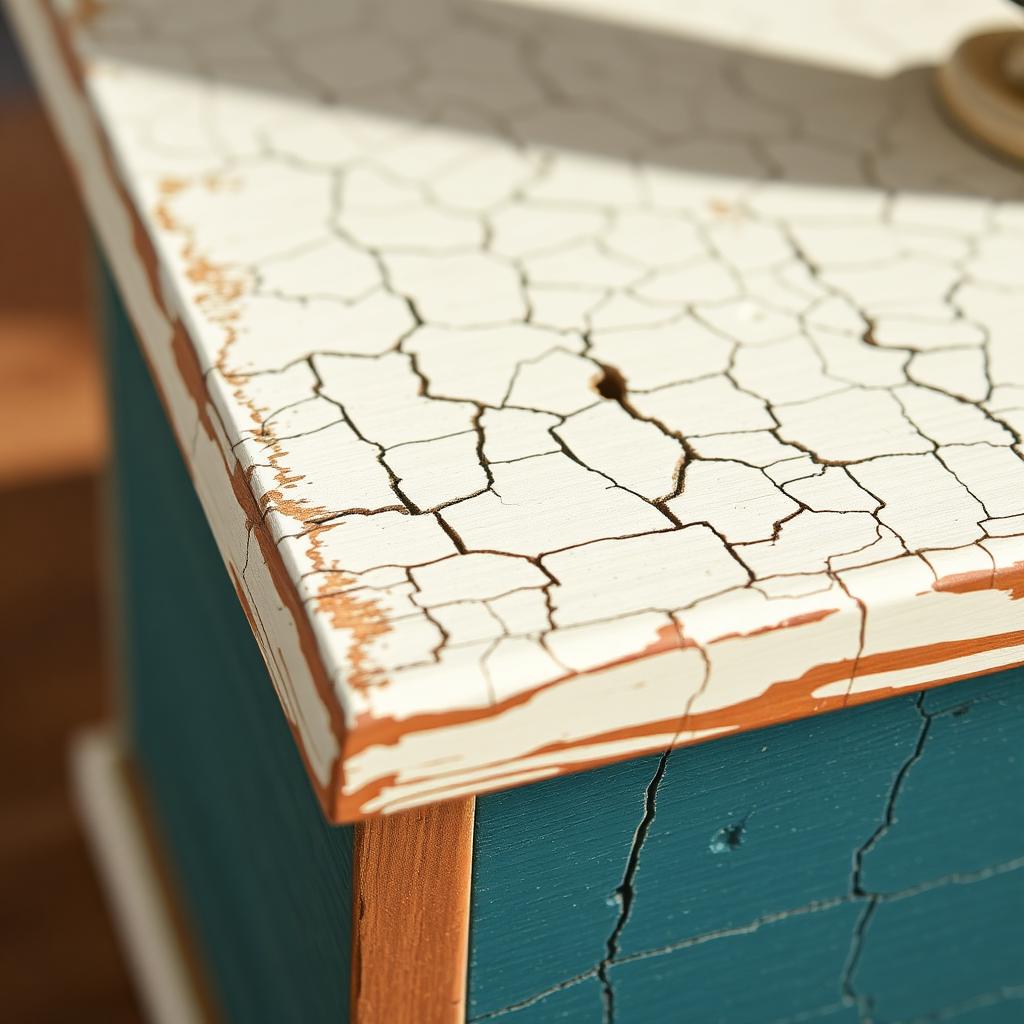
A crackle finish creates the appearance of old paint that has naturally split and aged over time.
The typical process uses:
- A base paint color
- A crackle medium
- A contrasting topcoat
As the topcoat dries, cracks form and reveal the base color underneath.
The thickness and direction of your brushstrokes can affect the final crack pattern. A thicker topcoat usually produces larger cracks, while a thinner layer creates smaller ones.
Avoid brushing repeatedly over the same area once the crackling begins. Overworking the paint can smear the finish and prevent the cracks from forming correctly.
Crackle finishes work best on decorative pieces rather than every surface in a room. A little goes a long way.
How to Choose the Right Paint Technique
With so many options, choosing one can be harder than actually painting the project.
Start by considering the surface and the look you want.
For a Soft, Subtle Finish — try color washing, whitewashing, limewashing, or light sponge painting.
For Vintage or Farmhouse Furniture — try distressing, dry brushing, crackle painting, or whitewashing.
For Modern or Industrial Projects — try faux concrete, limewash, neutral ombre, or blended matte finishes.
For Patterns and Detailed Designs — try stenciling, faux wood grain, sponge painting, or rag rolling.
You should also think about how much daily use the project will receive. Decorative wall art does not need the same level of protection as a dining table, bathroom vanity, or dresser.
Basic Supplies to Keep on Hand
You do not need to buy every specialty tool at once. A basic decorative-painting kit can cover several techniques.
Useful supplies include:
- Quality paintbrushes
- Small foam rollers
- Painter's tape
- Sanding sponges
- Lint-free cloths
- Natural sea sponges
- A fine mist spray bottle
- Paint trays or disposable containers
- Drop cloths
- Stencil brushes
- Protective topcoat
- Gloves
- A respirator or appropriate mask when required
This is also a good place to avoid the cheapest possible brush set. Low-quality brushes shed bristles, leave rough marks, and somehow manage to turn a relaxing furniture project into a personal grudge.
You do not need professional-grade tools for every project, but a few dependable brushes and sanding supplies make a noticeable difference.
Do You Need to Seal Decorative Paint?
That depends on the paint, the surface, and how the project will be used.
Furniture, tabletops, cabinets, and high-traffic surfaces usually benefit from a protective finish.
Common options include:
- Water-based polyurethane
- Furniture wax
- Polycrylic
- Clear furniture topcoat
- Exterior sealer for outdoor projects
Before choosing a sealer, check whether it is compatible with your paint.
Some clear coats can alter the color, sheen, or texture of the finish. White and very light paint colors can also yellow under certain oil-based products, so a water-based topcoat is usually the safer choice for pale finishes.
Always test the topcoat in an inconspicuous area first.
Common Decorative Painting Mistakes
Skipping Surface Preparation — Paint cannot hide grease, dust, peeling finishes, or loose material forever. Clean the surface thoroughly and sand or prime it when necessary.
Using Too Much Paint — This is especially common with stenciling, dry brushing, sponge painting, and faux finishes. Starting with less paint gives you more control.
Forgetting to Practice — A scrap board can save an entire dresser. Test your color combination and technique before committing to the final surface.
Trying to Make It Too Perfect — Many decorative finishes are supposed to have variation. Over-blending or repeatedly correcting the surface can remove the depth you were trying to create.
Sealing Too Soon — Paint can feel dry on the surface before it has fully cured. Applying a topcoat too early can cause streaking, lifting, or smudging.
Final Thoughts
A different paint technique can completely change the personality of a project.
The same basic dresser can look coastal with a whitewash, vintage with distressed paint, modern with a smooth ombre finish, or industrial with a faux concrete top.
Start with a small project, practice the technique, and do not panic if the first layer looks strange. Decorative painting often goes through an awkward middle stage before the colors and textures come together.
That is part of the process.
And if it genuinely looks terrible? It is paint. Sand it, repaint it, and pretend the first version was an experimental base coat. No one needs to know.